
You’re probably staring at a few marks on the wall and wondering whether a quick wipe will freshen them up or take the paint off with them.
That’s a fair concern, especially in a Melbourne rental. Most wall damage at end of lease doesn’t come from the mark itself. It comes from overconfident cleaning. A damp microfibre cloth can save your bond. A harsh pad, too much water, or the wrong spray can turn a small scuff into a repaint issue.
The safest way to approach how to clean walls without removing paint is to treat painted walls like a finished surface, not a tiled splashback. Clean lightly, test first, dry fast, and match the method to the stain. That’s what professionals do on vacate cleans, and it’s what keeps a wall looking clean without looking scrubbed raw.
Why Your Wall Cleaning Method Matters for Your Bond
Final inspections are stressful because walls get judged hard. A room can look tidy overall, but property managers still notice handprints near switches, grease near cooktops, bedhead rub marks, scuffs in hallways, and mould spotting around windows.
That matters because wall condition comes up often in rental disputes. In Melbourne, VCAT records from 2022 to 2023 show that 28% of the 15,000+ residential tenancy disputes involved claims over wall condition issues like marks and scuffs, resulting in average tenant deductions of $450 per case, according to this painted wall cleaning guide that references those figures. The practical takeaway is simple. Wall cleaning isn’t just about presentation. It’s about avoiding damage while removing visible soil.
Clean walls pass. Damaged walls trigger questions
A wall with light grime can usually be cleaned. A wall with rubbed-through paint, shiny scrub patches, swelling, or lifted finish often turns into a maintenance argument. Tenants sometimes make this worse by using bleach too early, soaking flat paint, or attacking marks with a Magic Eraser as if it’s harmless.
Practical rule: If the cloth is doing the work, you’re on the right track. If your pressure is doing the work, you’re probably damaging the paint.
There’s also a timing issue. End-of-lease cleaning compresses a lot of jobs into one day, so people rush the walls last. That’s exactly when mistakes happen. If you want the broader vacate checklist around walls, kitchens, bathrooms, and timing, this complete Melbourne end-of-lease cleaning guide is a useful companion.
The goal is controlled cleaning
A good wall clean does three things:
- Removes loose dust first so you don’t smear grit into the paint
- Lifts marks with the mildest workable solution instead of jumping straight to strong products
- Keeps moisture under control so paint doesn’t soften, streak, or bubble
That’s the difference between a wall that looks professionally cleaned and one that looks freshly damaged.
Your Five-Minute Prep for a Flawless Finish
Professionals don’t start with spray and scrubbing. They start by slowing the job down for five minutes. Those five minutes usually decide whether the finish stays intact.
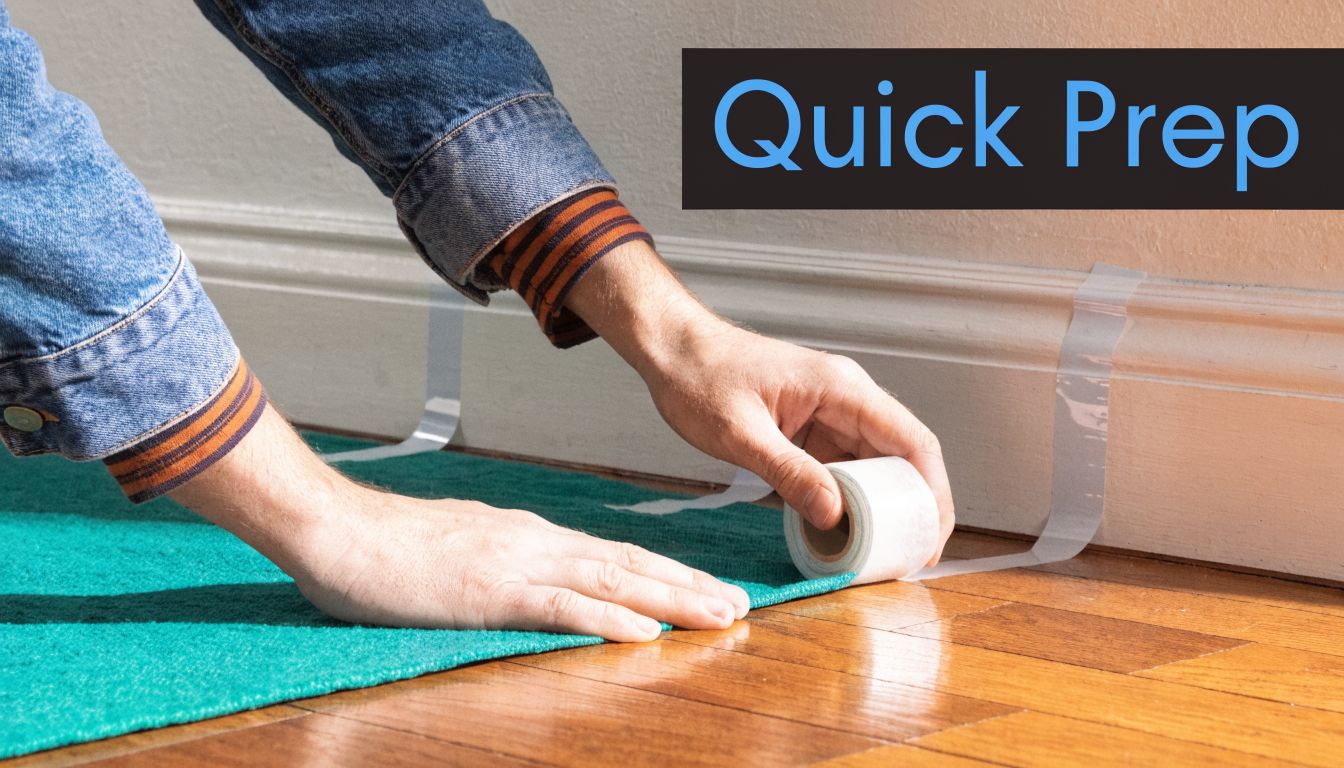
Protect the room before you touch the wall
Paint-safe wall cleaning is cleaner and safer when the area is set up properly. Lay down old towels or a drop cloth under the section you’re cleaning. Move lightweight furniture out of the way. If you’re working around skirting boards, power points, or timber flooring, keep a dry cloth nearby to catch drips straight away.
A simple prep kit is enough:
- Microfibre cloths for washing and drying
- A soft brush vacuum attachment for dust removal
- Two buckets so dirty water doesn’t go back on the wall
- Rubber gloves if you’re using vinegar or sugar soap
- A step ladder so you’re not stretching and pressing too hard
Remove dry dust first
Walls collect more loose dust than people realise. If you skip that stage, the first wipe turns dust into muddy streaks, especially on matte paint and pale colours.
Use a vacuum with a soft brush attachment, or a dry microfibre cloth wrapped loosely over a flat mop head for higher areas. Work gently. Don’t grind the dust in around corners, picture hooks, vents, and the top edge of skirting boards.
Dry soil comes off dry. Wet cleaning should deal with residue, not do the dusting job.
Patch test like a professional
The patch test is where most DIY jobs get lazy. It needs to be done properly.
Use this order:
- Choose a hidden spot behind a door, near the bottom of a wall, or behind furniture.
- Dampen, don’t soak, your cloth with your chosen solution.
- Wipe a small area lightly and leave it alone for a few minutes.
- Check for warning signs like colour transfer onto the cloth, dulling, tackiness, bubbling, or a shiny patch where the finish has changed.
- Dry the area fully before deciding the method is safe.
If the paint looks different after drying, stop there. Switch to plain warm water, a weaker mix, or spot-clean only. Good prep doesn’t feel dramatic, but it prevents the sort of damage that’s expensive and obvious at inspection.
The Go-To Method for General Grime and Dust
Most walls don’t need aggressive treatment. They need a gentle wash done in the right order.
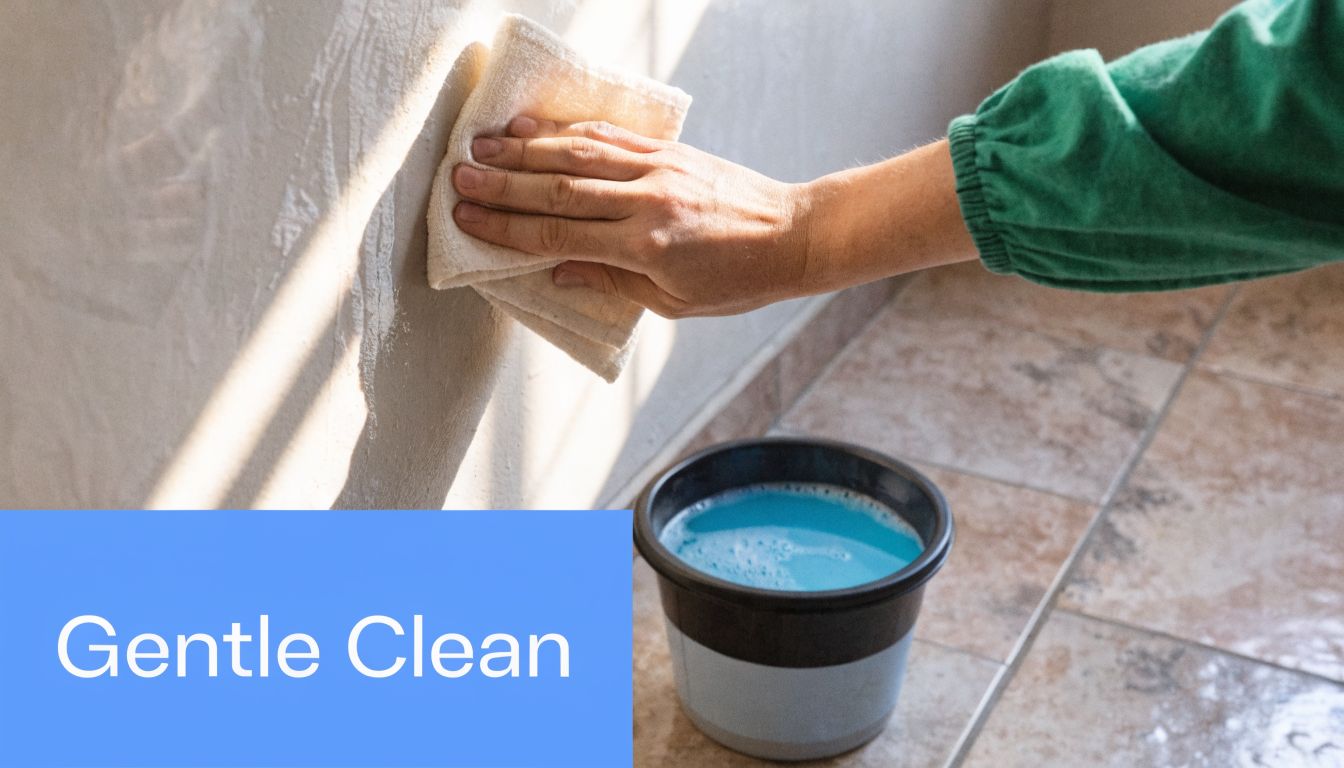
For everyday build-up like fingerprints, light smudges, and settled dust, mild dish soap and warm water usually does the job. The trick is keeping the cloth only lightly damp and working in small sections so the wall never stays wet for long.
Use the two-bucket system
One bucket holds your cleaning mix. The other holds plain water for rinsing your cloth. That stops you from redistributing grime across the wall.
A simple setup works well:
- Bucket one with warm water and a small amount of mild dish soap
- Bucket two with clean water only
- Cloth one for washing
- Cloth two for drying and buffing
Microfibre is the safest choice for most painted walls because it lifts dirt without the scratch of rougher pads.
The wiping direction matters
Wash from bottom to top. That sounds backwards, but it helps prevent drips from running down a dry dirty wall and leaving tracks. Then rinse any residue with a second lightly damp cloth, working top to bottom. Dry straight after.
Don’t flood the wall. Wring your cloth out hard. If water beads or runs, it’s too wet.
A painted wall should feel lightly wiped, not freshly washed.
This quick demo shows the motion and pressure level you’re aiming for:
A safe routine for whole walls
If the room needs a full refresh, use a simple sequence instead of chasing random marks around.
- Start high-risk zones first like around light switches, door frames, and hall corners
- Work one panel at a time between natural breaks in the wall
- Rinse often so your cloth stays clean
- Dry as you go with a separate microfibre towel
- Check from an angle for streaks before moving on
This method works well on painted walls that are generally sound but visibly tired. If a mark doesn’t shift with gentle passes, stop pushing harder. That’s the point where you move to targeted stain treatment, not brute force.
Targeting Tough Stains From Grease to Crayon
Not all wall marks are the same, and they shouldn’t be treated the same way. Grease responds to one chemistry. Scuffs respond to another. Mould is its own category entirely, especially in Melbourne homes where moisture hangs around longer than generic cleaning guides assume.
Grease and cooking film
Kitchen walls often look clean until the light hits them side-on. Then you see the dull film around the cooktop, bin area, and splash zone. For that, use a light vinegar-based mix on a cloth, not sprayed heavily across the wall.
Wipe gently, let it dwell briefly if needed, then remove with a separate damp cloth and dry the area. If the paint is matte, be even more conservative. Repeated light passes are safer than one aggressive scrub.
Crayon and waxy marks
Crayon needs lift, not friction. A thin baking soda paste can help on isolated marks. Apply it with a soft cloth, work only on the stain, and remove it before it dries hard on the wall.
Keep the contact area tight. Don’t spread the paste over clean paint. If you’re dealing with a child’s bedroom wall, test every colour separately because some pigments shift more than others.
Scuffs from shoes, bags, and furniture
Scuffs look like they should come off with pressure. That’s the trap. Start with warm water and a microfibre cloth. If the mark remains, use a mild soap mix and short, gentle passes.
Avoid the instinct to reach for a melamine foam pad first. It can act like ultra-fine sandpaper on flatter finishes, leaving a polished patch that’s more obvious than the original scuff.
Nicotine residue and yellowing
Nicotine staining is more stubborn because it bonds to the surface and often sits across the whole wall, not just one spot. The biggest mistake here is over-wetting the paint while chasing colour change.
Work in small sections, keep cloths fresh, and expect multiple passes. If the staining is broad, patchy, or ingrained, this is often where DIY stops making financial sense. It’s easy to create uneven clean spots that stand out against the rest of the wall.
Mould in Melbourne’s humidity
This is the issue many generic guides miss. In Melbourne’s high humidity, tenants often search for mould on walls without paint damage, and a 1:10 white vinegar-water spray is the safest practical answer because it kills spores without stripping low-sheen paints common in Aussie rentals, unlike harsh bleach-based sprays, as noted in this guide to cleaning painted walls.
Spray lightly onto the cloth or apply sparingly to the wall, let it sit briefly, then wipe and buff dry with clean microfibre. Open windows, run exhaust fans, and don’t trap moisture back into the room.
Bleach can make a wall look lighter for a moment. That isn’t the same as treating mould safely on painted surfaces.
Stain Removal Cheat Sheet
| Stain Type | Recommended Solution | Application Method |
|---|---|---|
| Grease film | Mild vinegar-water mix | Wipe with a lightly damp microfibre cloth, then remove residue with clean water and dry |
| Crayon | Baking soda paste | Apply to the mark only, use light pressure, wipe clean before the paste dries |
| Scuff marks | Mild dish soap and warm water | Short gentle passes with microfibre, then dry immediately |
| Nicotine residue | Mild soap solution used in small sections | Clean gradually with fresh cloths and avoid saturating the wall |
| Mould | 1:10 white vinegar-water spray | Apply lightly, allow brief contact, then wipe and buff dry with good ventilation |
Tools and Cleaners Professionals Swear By
A lot of wall cleaning problems come from using a decent product on the wrong finish. Matte paint, eggshell, satin, and gloss don’t tolerate the same amount of moisture or friction. The cleaner matters, but the combination matters more.
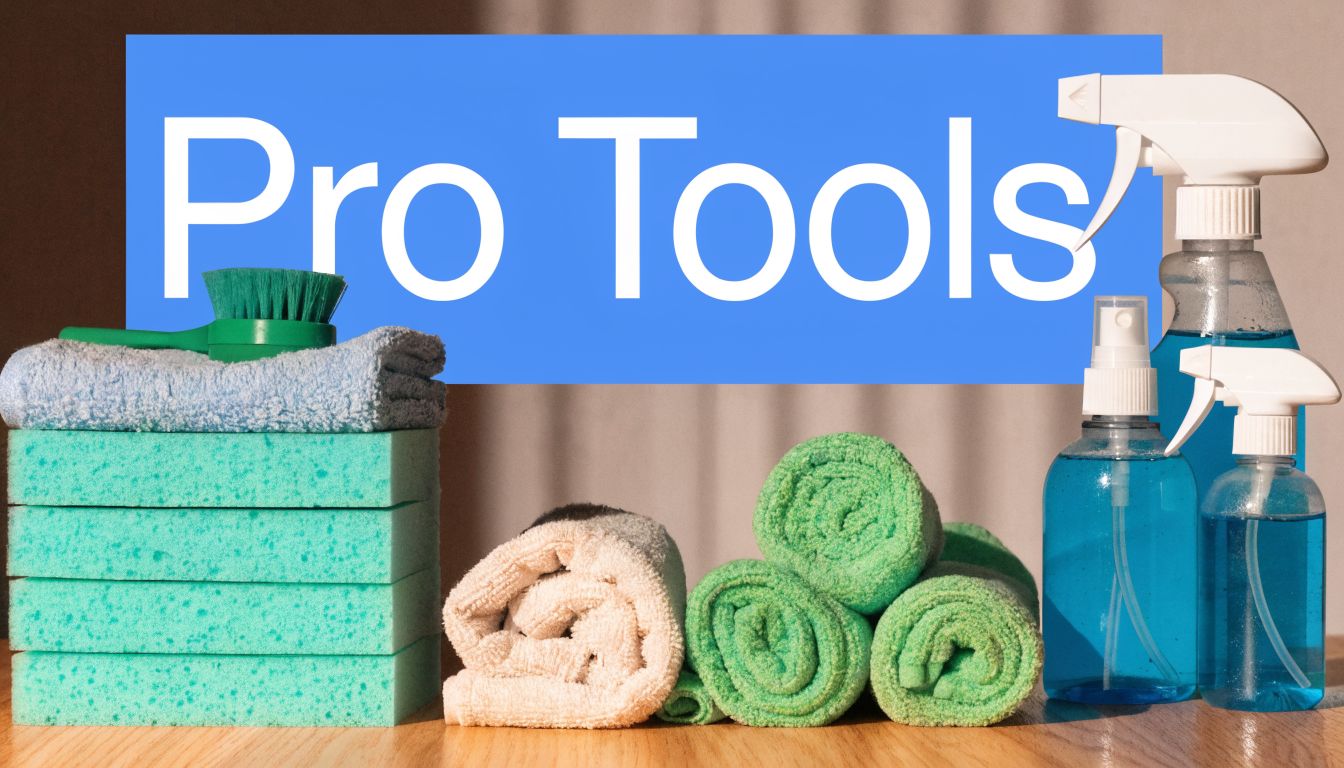
Match the tool to the finish
Flat and matte paints mark easily and can burnish if you rub them too hard. Eggshell and satin are more forgiving. Semi-gloss and gloss usually handle washing best.
That’s why professionals reach for these first:
- High-quality microfibre cloths because they lift grime with very little abrasion
- Soft sponges for broader areas where a cloth drags
- Mild dish soap or pH-neutral cleaner for routine washing
- Sugar soap for heavier prep-style cleaning used carefully and tested first
- Spray bottles with fine mist so you control moisture instead of soaking the wall
What doesn’t work as well as people think
Harsh scourers, stiff brushes, and strong bleach-based sprays cause trouble fast. So does overusing melamine foam. It feels effective because it removes marks quickly, but on delicate paint it can remove the finish with them.
A 2023 Consumer Affairs Victoria study found that 62% of bond cleaning failures were due to paint damage. Using recommended mild soap solutions prevents 88% of paint removal incidents, while overuse of abrasive tools like Magic Erasers stripped 22% of flat paints in lab tests, according to this Consumer Affairs Victoria wall-cleaning summary. That lines up with what cleaners see in the field. The wall often loses before the stain does.
The best wall-cleaning kit isn’t the strongest one. It’s the one that gives you the most control.
A simple pro standard
For most end-of-lease wall work, a reliable kit is better than a cupboard full of specialty products. Keep a few clean microfibre cloths, two buckets, mild dish soap, white vinegar, baking soda for isolated marks, gloves, and dry towels for immediate buffing. That’s enough to handle most painted walls safely.
If you want more practical vacate cleaning articles beyond walls alone, the End Of Lease Cleaning Melbourne blog has broader guidance on getting inspection-ready without creating new problems.
When to DIY and When to Call the Pros
DIY makes sense when the walls have light dust, a few scuffs, minor fingerprints, or a small patch of mould you’ve caught early. If the paint is sound and you can work slowly, a careful clean is usually manageable.
Call professionals when the issue is widespread, the staining is heavy, or the inspection is too close to gamble on trial and error. Nicotine residue across multiple rooms, greasy kitchen walls, recurring mould, or flat paint that marks when touched are the jobs most likely to go wrong in a rush.
If you need certainty more than experimentation, it’s usually smarter to book experienced help through End Of Lease Cleaning Melbourne. The rule is simple. If you can clean the wall gently, evenly, and without changing the finish, do it yourself. If you can’t, stop before a removable mark turns into a repaint issue.
If you want wall cleaning handled as part of a proper vacate clean, End Of Lease Cleaning Melbourne can help. Their team handles end-of-lease cleaning across Melbourne with eco-friendly products, careful wall-safe methods, and the sort of detail that matters at final inspection.
