
You’re probably looking up how do you clean a range hood because you’ve lifted the filter, seen the brown grease packed into it, and realised this isn’t a quick spray-and-wipe job. That’s even more stressful when you’re moving out and the property manager is going to inspect every sticky surface in the kitchen.
A range hood is one of those end-of-lease items tenants often underestimate. It sits above eye level, so the grime builds slowly, then all at once you notice the filter is clogged, the underside feels tacky, and the stainless steel has streaks that won’t shift. The good news is that most hoods can be cleaned well if you use the right method, the right tools, and enough drying time before reassembly.
Why Your Range Hood Is a Bond Cleaning Priority
Melbourne renters have good reason to take this seriously. A 2023 RTBA report indicated that kitchen defects, including unclean exhaust hoods, contributed to 28% of disputed bond claims in Victoria, with potential deductions of $200 to $500 per item. The same verified data set also notes that a Consumer Affairs Victoria survey found 42% of renters were unaware of the specific cleaning standards required for a full bond return (xoappliance.com/how-to-clean-range-hood).
That gap matters. Plenty of general cleaning guides tell you how to soak a filter, but they don’t explain what a Melbourne property manager usually checks at final inspection. They’re not just looking for “better than before”. They’re looking for no visible grease, no sticky residue on the hood body, no splatter around the light covers, and no greasy smell when the fan runs.
What gets tenants into trouble
The range hood usually fails inspection for one of four reasons:
- The filter still feels oily even after washing
- The stainless steel is scratched from rough pads
- The inside lip and fan housing were skipped
- The hood was reassembled damp, which leaves marks and can trap grime again
Practical rule: If your fingers come away greasy after touching the underside, the clean isn’t finished.
A proper end-of-lease clean needs more than surface shine. It needs a method. That’s why tenants often pair the hood with a full vacate checklist rather than treating it as a separate task. If you’re working through the rest of the property as well, this Melbourne end of lease cleaning guide helps put the hood in the wider bond-cleaning context.
What Works
For most hoods, the winning approach is simple:
- Identify the hood and filter type first
- Remove and degrease the filters properly
- Clean the exterior with the correct cloth and pressure
- Wipe the inside housing and fan area carefully
- Dry every part fully before putting it back
That’s the difference between a hood that looks clean from two metres away and one that passes inspection up close.
Preparation and Identifying Your Range Hood
Most damage happens before the cleaning even starts. People rush in with an abrasive sponge, spray degreaser straight at controls, or force a filter out the wrong way. A few minutes of prep saves a lot of grief.
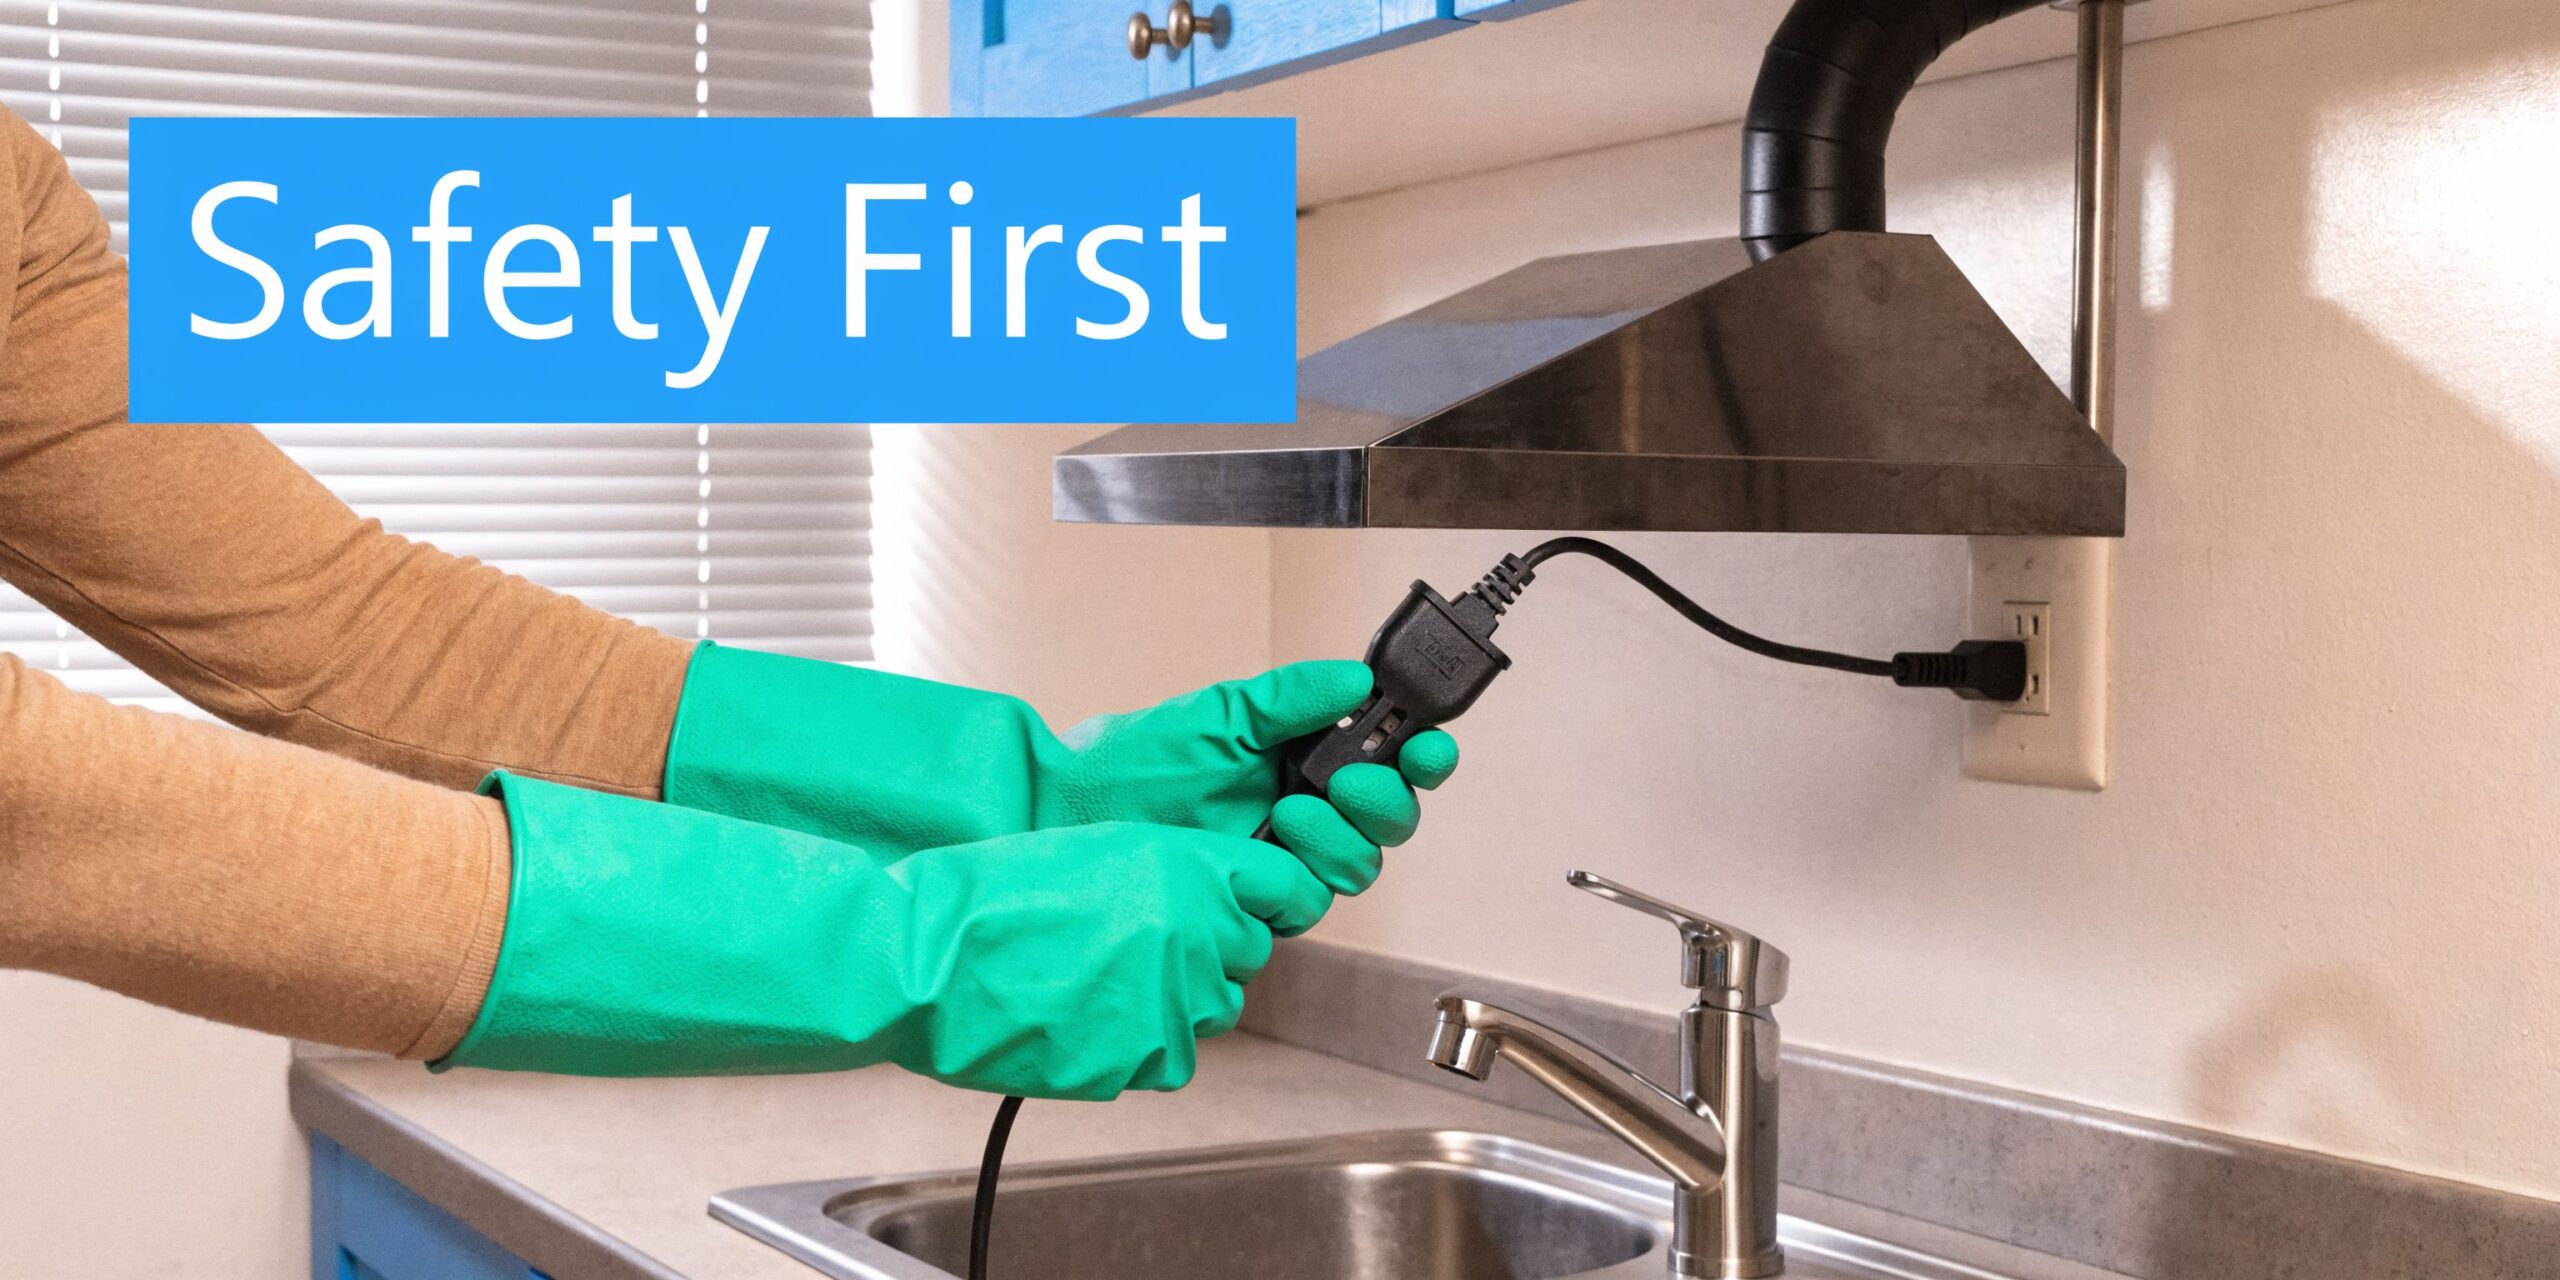
Start with safety
Turn the hood off and disconnect the power if you can safely access the plug. If it’s hardwired, switch it off at the relevant circuit before cleaning the interior.
Lay an old towel or drop sheet over the cooktop. Grease and dirty water will fall when the filters come out, and you don’t want to clean the stove twice.
Put these supplies together
You don’t need a trolley full of chemicals. You do need the right combination.
- Microfibre cloths for stainless steel and final buffing
- Degreasing dish soap for soaking filters
- A non-abrasive sponge for general washing
- A soft brush or old toothbrush for corners and latch areas
- Warm to hot water for loosening grease
- Baking soda or white vinegar for stubborn residue
- Rubber gloves to protect your hands from grease and hot water
- A torch or phone light to inspect the interior housing
Avoid steel wool, harsh scouring pads, and anything sharp. They can scratch stainless steel, strip paint, and leave the hood looking worse than when you started.
Work out what type of hood you have
You don’t need the exact model number to clean it well. You do need to know whether it’s ducted or recirculating.
A quick visual guide:
| Hood feature | What it usually means | What matters for cleaning |
|---|---|---|
| Air vents outside | Ducted hood | Metal filters need regular degreasing |
| Air is filtered and returned to kitchen | Recirculating hood | May have metal filters plus charcoal filters |
| Heavy stainless slats | Baffle filters | Durable, usually easier to scrub |
| Fine woven metal screen | Mesh filters | Needs gentler handling |
| Black or dark carbon insert | Charcoal filter | Replace, don’t wash |
Check the filter before you force it
Most filters release with a small latch or slide mechanism. Support the filter with one hand while opening the catch with the other. If it doesn’t move easily, stop and check again. Bent frames are common when tenants try to yank filters downward.
If the hood recirculates air and contains a charcoal filter, assume it’s a replacement part unless the manual says otherwise.
This prep stage isn’t glamorous, but it’s where a clean stays safe, tidy, and damage-free.
A Step-by-Step Guide to Degreasing Range Hood Filters
Filters do the hardest work in the whole unit. They catch grease, smoke particles, and cooking residue every time you use the cooktop. When tenants ask how do you clean a range hood properly, this is the part that decides whether the job succeeds or fails.
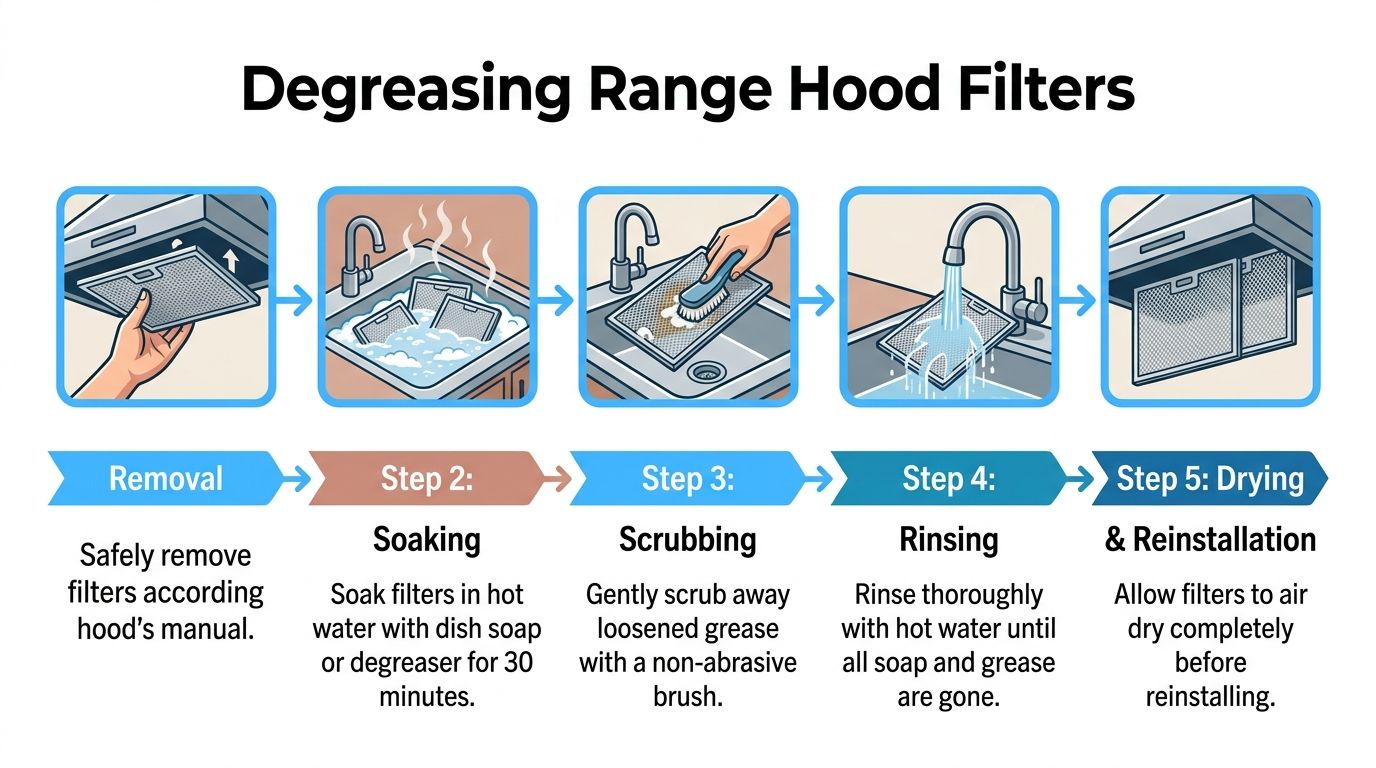
To see the process at a glance, this visual helps.
A key point from the verified data: a 2023 CSIRO home appliance study showed neglected range hoods in average Australian households can retain 2.5kg of grease annually. That buildup is accelerated by 60% with heavy oil use common in Melbourne households. The same verified data also states that dishwasher-safe filters are found in 70% of models, but need a hot cycle to dissolve 95% of grease effectively.
Metal mesh and baffle filters
These are the filters you can usually clean rather than replace.
Follow this sequence:
Remove the filters carefully
Support the weight as you release the latch. Greasy filters can slip.Fill the sink with very hot water
Add degreasing dish soap. If the buildup is heavy, add baking soda or a small amount of white vinegar.Soak the filters
Let them sit until the grease softens. Short soaks help with fresh residue. Older buildup needs longer and sometimes a second round.Scrub gently
Use a soft brush along the slats or mesh. Focus on corners, outer frame edges, and the latch area where grease cakes up.Rinse with hot water
Keep rinsing until the water runs clear and the metal no longer feels slippery.Inspect under strong light
Hold the filter up. If the openings still look blocked, soak again.
Dishwasher or hand-wash
For many homes, the dishwasher is the easiest option. Hand-washing gives you more control when the filter is delicate or heavily soiled.
Here’s the trade-off:
- Dishwasher method
Best for regular maintenance and dishwasher-safe metal filters. Stand the filters upright and use a hot cycle. - Hand-wash method
Better for old grease, detailed scrubbing, and filters with awkward corners. - What doesn’t work well
Cold water, quick rinses, and aggressive metal scourers
A filter can look silver and still be clogged. Go by feel and airflow, not colour alone.
If the filter still smells oily after drying, it needs another clean. Odour is often the giveaway that grease remains in the channels.
Later in the process, this video can help you compare your technique with a standard filter clean.
Charcoal filters
Charcoal filters are different. They’re used in many recirculating hoods to absorb odours. They are not the part you scrub in the sink.
The practical rule is simple:
- Metal filter catches grease and can usually be cleaned
- Charcoal filter captures odour and is usually replaced
If the hood still smells stale after the metal filters are cleaned, check whether there’s a charcoal filter behind them. If there is, inspect its condition and replace it if it’s saturated or worn.
What pros watch for
Professionals don’t stop at “mostly clean”. They check for:
- Sticky edges around the frame
- Grease trapped in corners
- Discolouration caused by residue, not age
- Bent mesh from rough handling
- Drips after rinsing that indicate soap or grease remains
That extra inspection matters because the filter is the part most likely to be removed and checked during an end-of-lease inspection.
Deep Cleaning the Hood Exterior and Interior Fan
Once the filters are out, the hood body tells the truth. You may find the tacky underside, the dust glued to grease on top of the canopy, and the residue around the fan housing that many people miss.
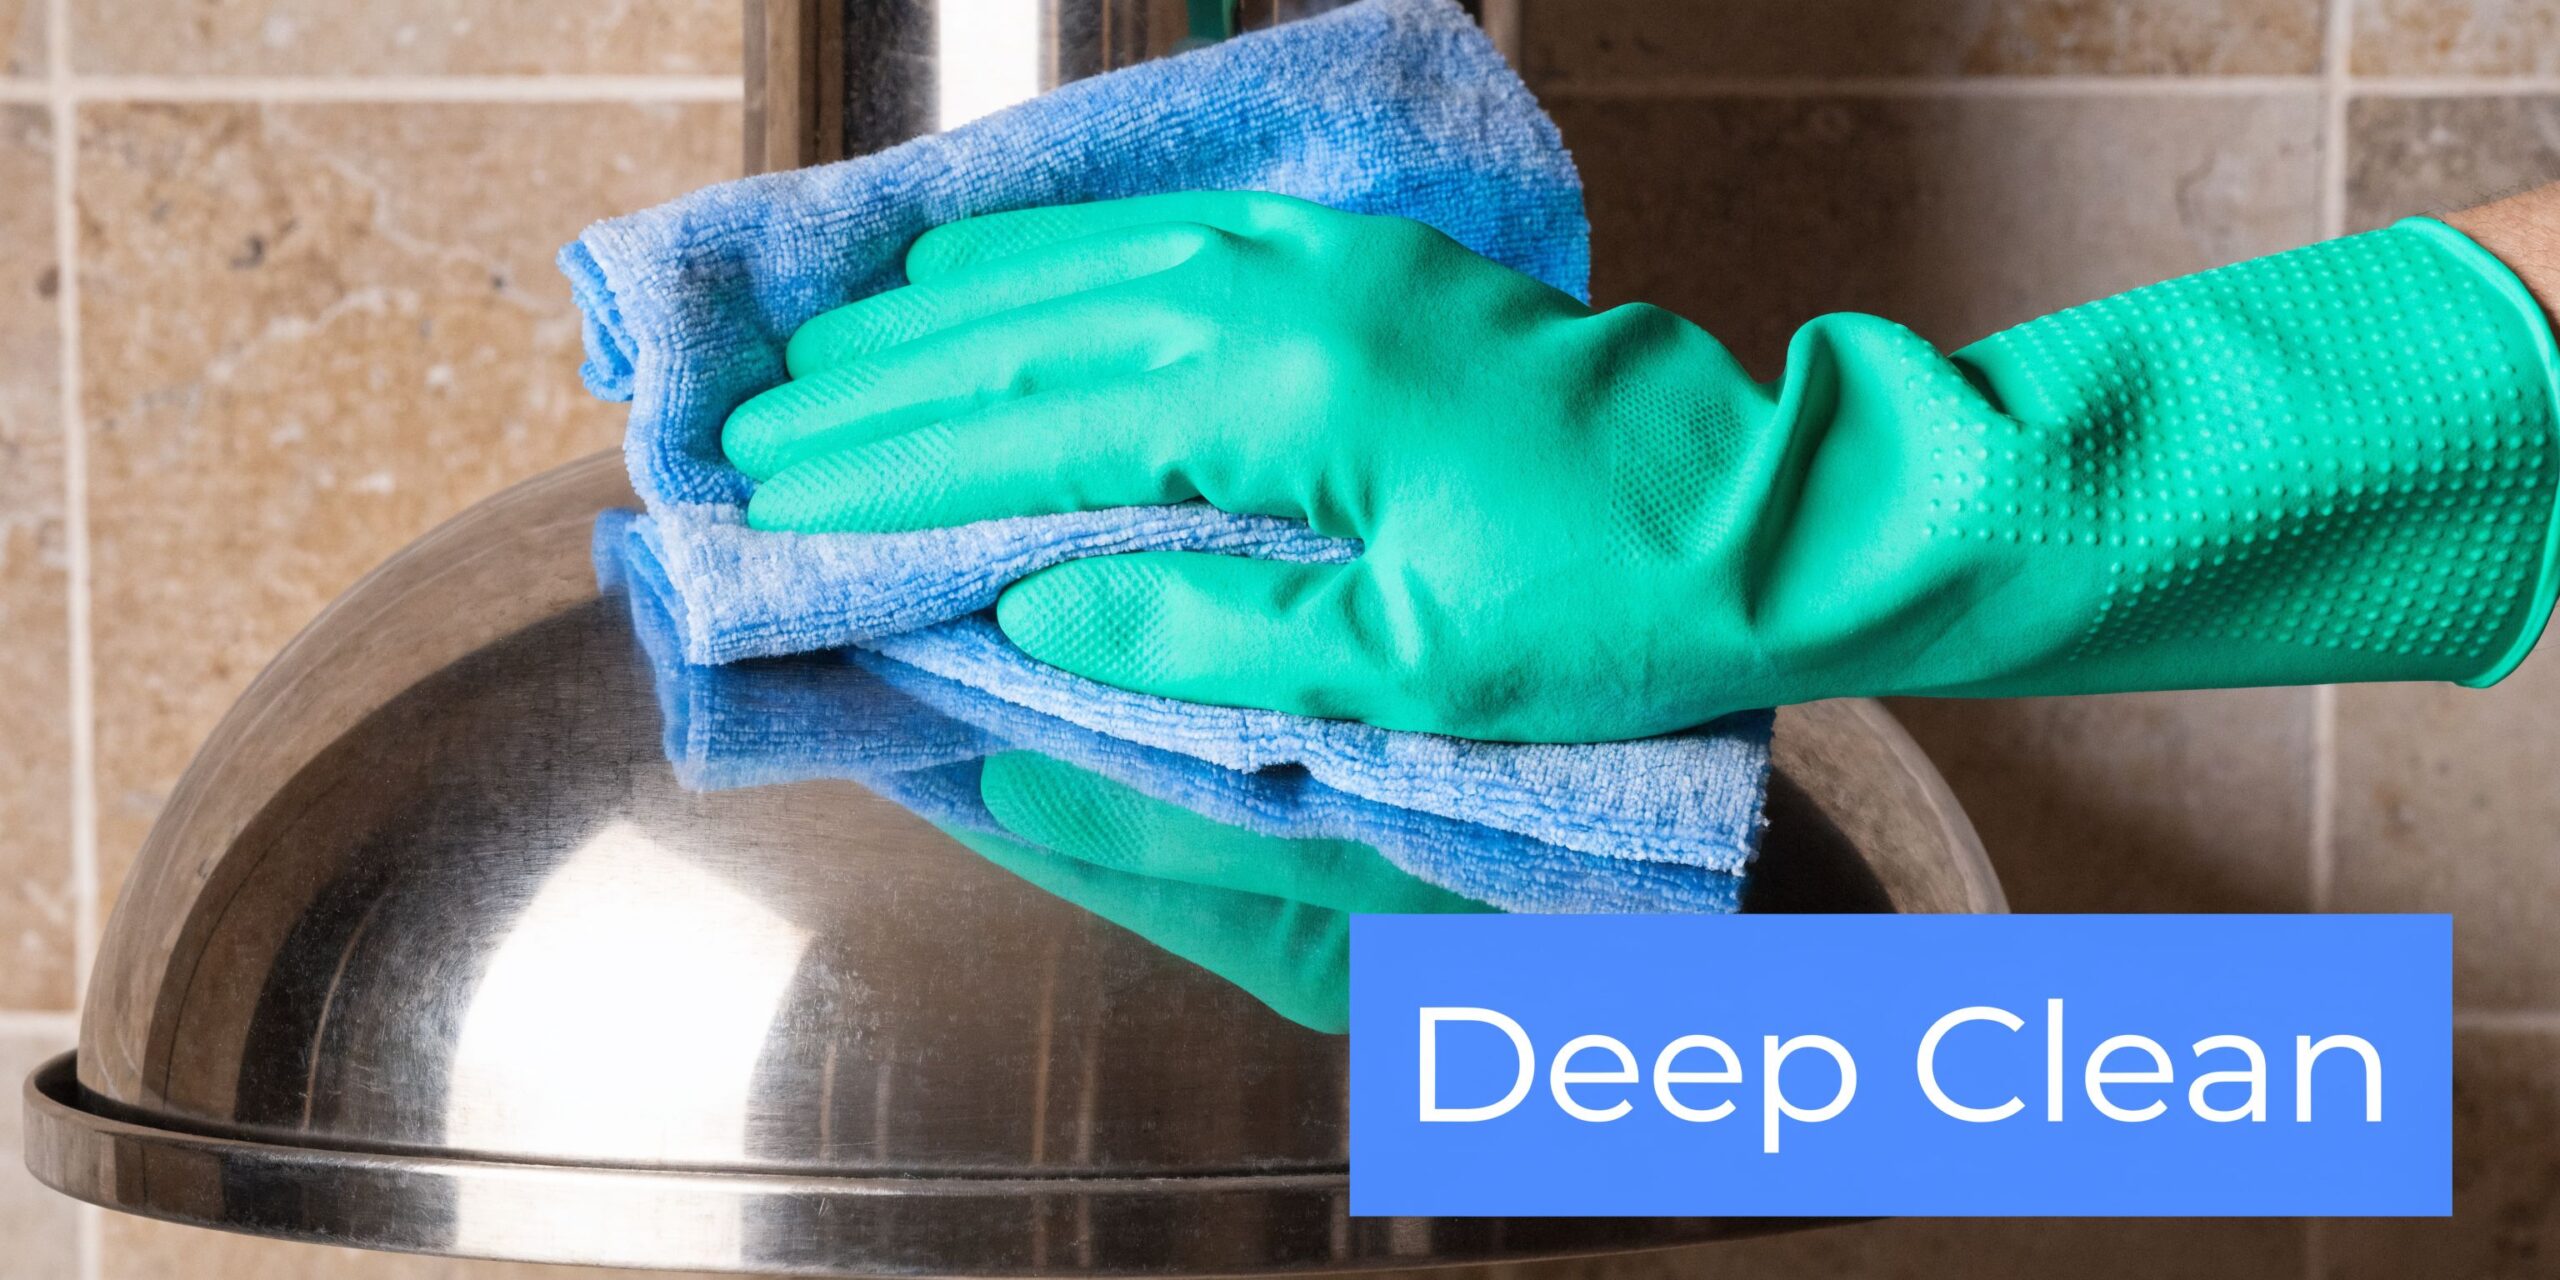
Clean the outside without scratching it
Spray cleaner onto the cloth, not directly onto switches or lights. That gives you better control and avoids liquid running into electrical parts.
For stainless steel, wipe with the grain. You can usually see the direction as faint lines in the metal. Going across that grain leaves marks and can make a clean hood look smeared.
For other finishes:
- Painted hoods need mild soap and a soft cloth
- Glass panels respond well to a non-abrasive cloth and a streak-free finish
- Control buttons should be wiped, not soaked
Tackle the underside and inner lip
Most end-of-lease failures happen here because this area sits out of direct sight. Run a cloth along the front edge, side seams, light surrounds, and the recessed lip where grease settles.
Use a soft brush on corners if needed. Old toothbrushes are handy for this because they reach latch recesses and vent joins without gouging the surface.
Clean until the cloth stops picking up yellow or brown residue. One pass is rarely enough on a neglected hood.
Clean the fan housing carefully
With the filters removed, shine a torch inside. You may see sticky residue on the internal surfaces and around the fan area.
Use a damp cloth with degreaser on it, then wipe the housing by hand. Don’t spray liquid directly into the motor area. Keep the cloth controlled and only lightly damp.
A simple approach works best:
| Area | Best method | Avoid |
|---|---|---|
| Interior walls | Cloth with degreaser | Flooding with spray |
| Fan cover | Gentle wipe | Heavy pressure |
| Tight corners | Soft brush | Sharp tools |
| Light surrounds | Damp cloth | Excess water |
If the fan blades are exposed, be gentle. They can bend more easily than people expect. A bent blade often leads to rattling later, even if the hood looks spotless.
For really stubborn residue, let the cleaner dwell briefly on the cloth-applied area before wiping again. Patience beats force every time.
Drying Reassembly and Setting a Maintenance Schedule
A lot of people do the hard part well, then undo it by rushing the finish. If you reinstall damp filters or trap moisture inside the hood, grease sticks faster and the clean won’t last.
Dry every piece properly
Air-dry the filters fully before they go back in. Put them upright in a dish rack or on a towel so water drains out of the corners and frame channels.
Wipe the hood body dry as well, especially around:
- Filter rails
- Light surrounds
- Underside seams
- Control edges
If you’ve cleaned with hot water, give the parts time to cool before refitting them. That makes them easier to handle and reduces slipping.
Reassemble with a quick check
Don’t just clip everything back and walk away. Test the fit.
Use this checklist:
- Filter seated correctly and not tilted
- Latch fully engaged so it won’t rattle
- No moisture left on metal parts
- No cleaner residue on the exterior finish
- Fan operates normally once power is restored
If the hood rattles after reassembly, a filter may not be seated properly. Remove it and refit it rather than forcing it into place.
Keep it manageable next time
The easiest range hood to clean is the one that never gets heavily neglected. A simple maintenance rhythm keeps the grease from turning into a major end-of-lease job.
The practical schedule most households can stick to:
- Weekly wipe the exterior with a microfibre cloth and warm soapy water
- Every 1 to 3 months deep-clean the metal filters
- As needed replace charcoal filters in recirculating models
- Before inspections or photos check the underside, inner lip, and light surrounds
For broader home cleaning routines and vacate prep, the End Of Lease Cleaning Melbourne blog has useful checklists and practical cleaning advice.
When DIY Is Not Enough for Your Bond Refund
Some range hoods clean up beautifully with a soak, a cloth, and some patience. Others don’t. If the grease has been cooking onto the metal for years, DIY can turn into a half-day job that still leaves visible residue.
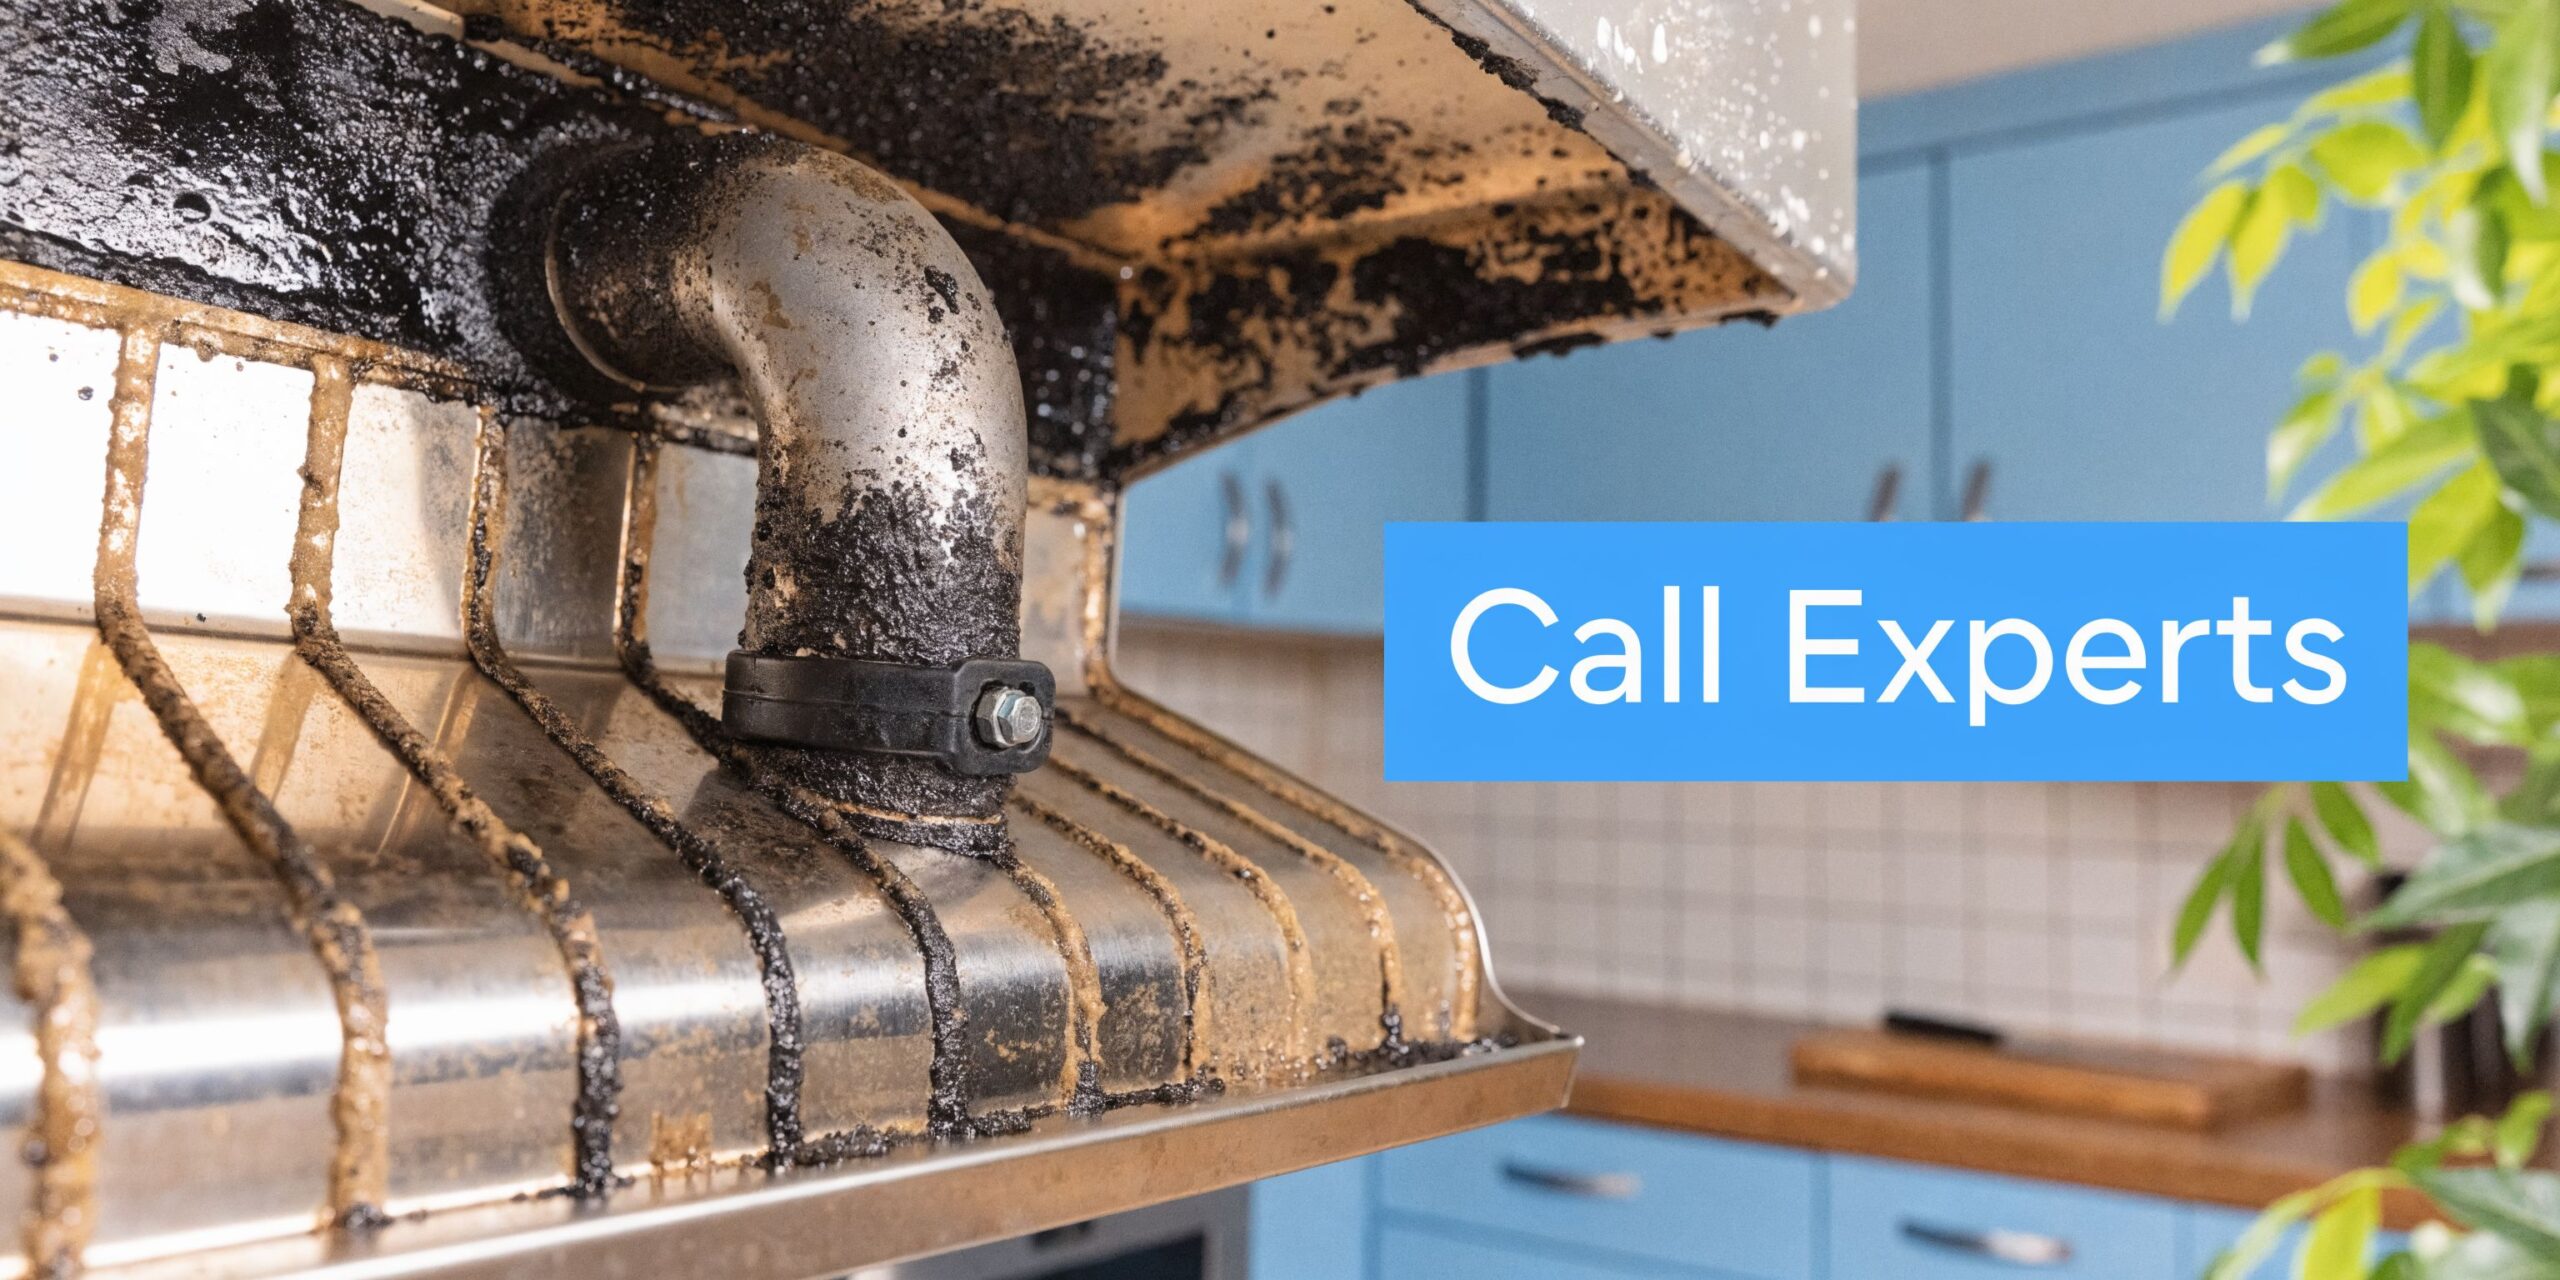
Here’s the financial reality in Melbourne. Verified data states that VCAT data from 2022 to 2023 shows over 4,200 rental dispute cases involved kitchen appliances. Range hood grease buildup was cited in 28% of these, costing tenants an average of AU$250. The same verified data also notes that failing to clean filters can reduce airflow by 50%, increasing fire risks that were linked with 142 kitchen fires in Victoria in 2022 (therangehoodstore.com/a/blog/a-simple-range-hood-cleaning-and-maintenance-schedule).
Signs the hood needs more than a DIY clean
Some red flags are obvious once you know what to look for:
- Dark brown or black grease that doesn’t soften after soaking
- Grease dripping from inside the hood body
- A strong stale smell even after filter cleaning
- Rattling or noisy fan operation
- Sticky residue in seams and corners that keeps transferring onto fresh cloths
If you’re also juggling oven cleaning, bathrooms, windows, skirting boards, and patching the rest of the property, the hood becomes one more high-risk item on a long list.
The Trade-off
DIY saves money when the hood is lightly to moderately dirty and you’ve got time to do it properly. It stops making sense when:
| Situation | DIY may be fine | Professional help is usually smarter |
|---|---|---|
| Light grease | Yes | Usually not necessary |
| Heavy baked-on buildup | Maybe, with time | Often yes |
| Final inspection is close | Risky | Safer |
| You don’t know the filter type | Possible | Better if the hood is delicate |
| Full property clean still pending | Stressful | Often worth outsourcing |
If your cloth keeps pulling off grease after repeated cleaning, you’re not polishing. You’re still stripping buildup.
Bond risk changes the decision
At end of lease, you’re not cleaning for your own tolerance. You’re cleaning to an inspection standard. That means “good enough for everyday living” often isn’t enough for bond return.
A professional clean can be the safer option when the range hood is one of several problem areas and time is tight. It also reduces the chance of accidental scratching, bent filters, or patchy results that trigger deductions later. If you’re weighing that option, you can contact End Of Lease Cleaning Melbourne to ask about vacate cleaning support and what’s included.
If your range hood is greasy, sticky, or one more stressful item before handover, End Of Lease Cleaning Melbourne can help take it off your list. Their team handles end-of-lease cleans across Melbourne with the detail needed for inspection-ready kitchens, including the fiddly jobs tenants often run out of time for.
