
You’ve done the obvious jobs. The oven is degreased. The shower screen looks decent. The carpets are booked. Then you kneel down in the bathroom or kitchen and see it properly: dark grout lines that still look dirty no matter how clean the tiles are.
That’s the spot plenty of Melbourne tenants underestimate.
Floor tile grout is one of the first things a property manager notices during a vacate inspection because it tells them two things fast. It shows whether the home was maintained, and it shows whether moisture, mould, grease, or soap residue have been left behind in areas that matter most. If you’re trying to work out how to clean floor tile grout before handover, generic cleaning advice won’t cut it. End-of-lease standards are stricter than a casual weekend clean, especially in kitchens, bathrooms, laundries, and entryways.
Why Grout Cleaning Matters for Your Melbourne Bond
The inspection problem most tenants see too late
In Melbourne rentals, grout causes trouble because it sits in the background until inspection day. The tile can look fine from standing height, but the grout tells a different story once someone checks the bathroom floor corners, around the toilet base, or along the kitchen splash zone near the sink.
That matters because tenants can risk 20 to 30% bond deductions for unclean grout, according to Victorian rental tribunal data cited in this grout cleaning discussion for Melbourne rental standards. The same source notes that guides often miss the standards tenants face under the Residential Tenancies Act 1997 (VIC), where bond cleans need to satisfy inspection expectations around sanitised, residue-free grout in moisture-prone homes.
Melbourne’s climate doesn’t help. Damp bathrooms, winter condensation, and slower drying times let grime settle deeper than many renters expect.
Practical rule: If grout still looks patchy after the floor has dried, it usually isn’t “just stained tile”. It’s embedded soil, soap residue, or mould in the grout itself.
Bond returns aren’t only about appearance
A lot of tenants treat grout as a cosmetic issue. Property managers often don’t. Dirty grout reads as hygiene failure, especially in wet areas.
The same Melbourne-focused source reports a 25% higher rate of respiratory issues in rentals with poor grout maintenance, linked to a 2025 VicHealth study, which is why antimicrobial follow-up in damp areas matters at end of lease. That doesn’t mean every dark grout line is dangerous, but it does mean bathroom and laundry grout gets judged more harshly than lounge room tile joints.
For a broader vacate cleaning checklist, this Melbourne end-of-lease cleaning guide is useful context because grout rarely fails alone. It usually sits alongside soap scum, scale, exhaust dust, and mould in the same inspection zones.
What gets missed in generic grout guides
Most online advice talks about making grout look whiter. Bond cleaning is different. You need grout that is:
- Visibly clean so dark traffic marks and residue are removed
- Properly rinsed so no cleaner haze is left behind
- Dry at inspection standard instead of still damp and blotchy
- Suitable for the tile type so you don’t damage the floor while trying to save the bond
That last point matters. I’ve seen tenants scrub too hard with the wrong brush, flood the grout with water, or use acidic hacks that make the floor look worse by handover.
If the grout is only lightly dirty, DIY can work well. If it’s darkened, mouldy, crumbling, or spread across several rooms, you need to be much more careful about method and timing.
Assembling Your Grout Cleaning Toolkit
A proper grout clean starts before any paste or machine touches the floor. The biggest DIY mistake isn’t weak effort. It’s using the wrong tools and then blaming the cleaner.
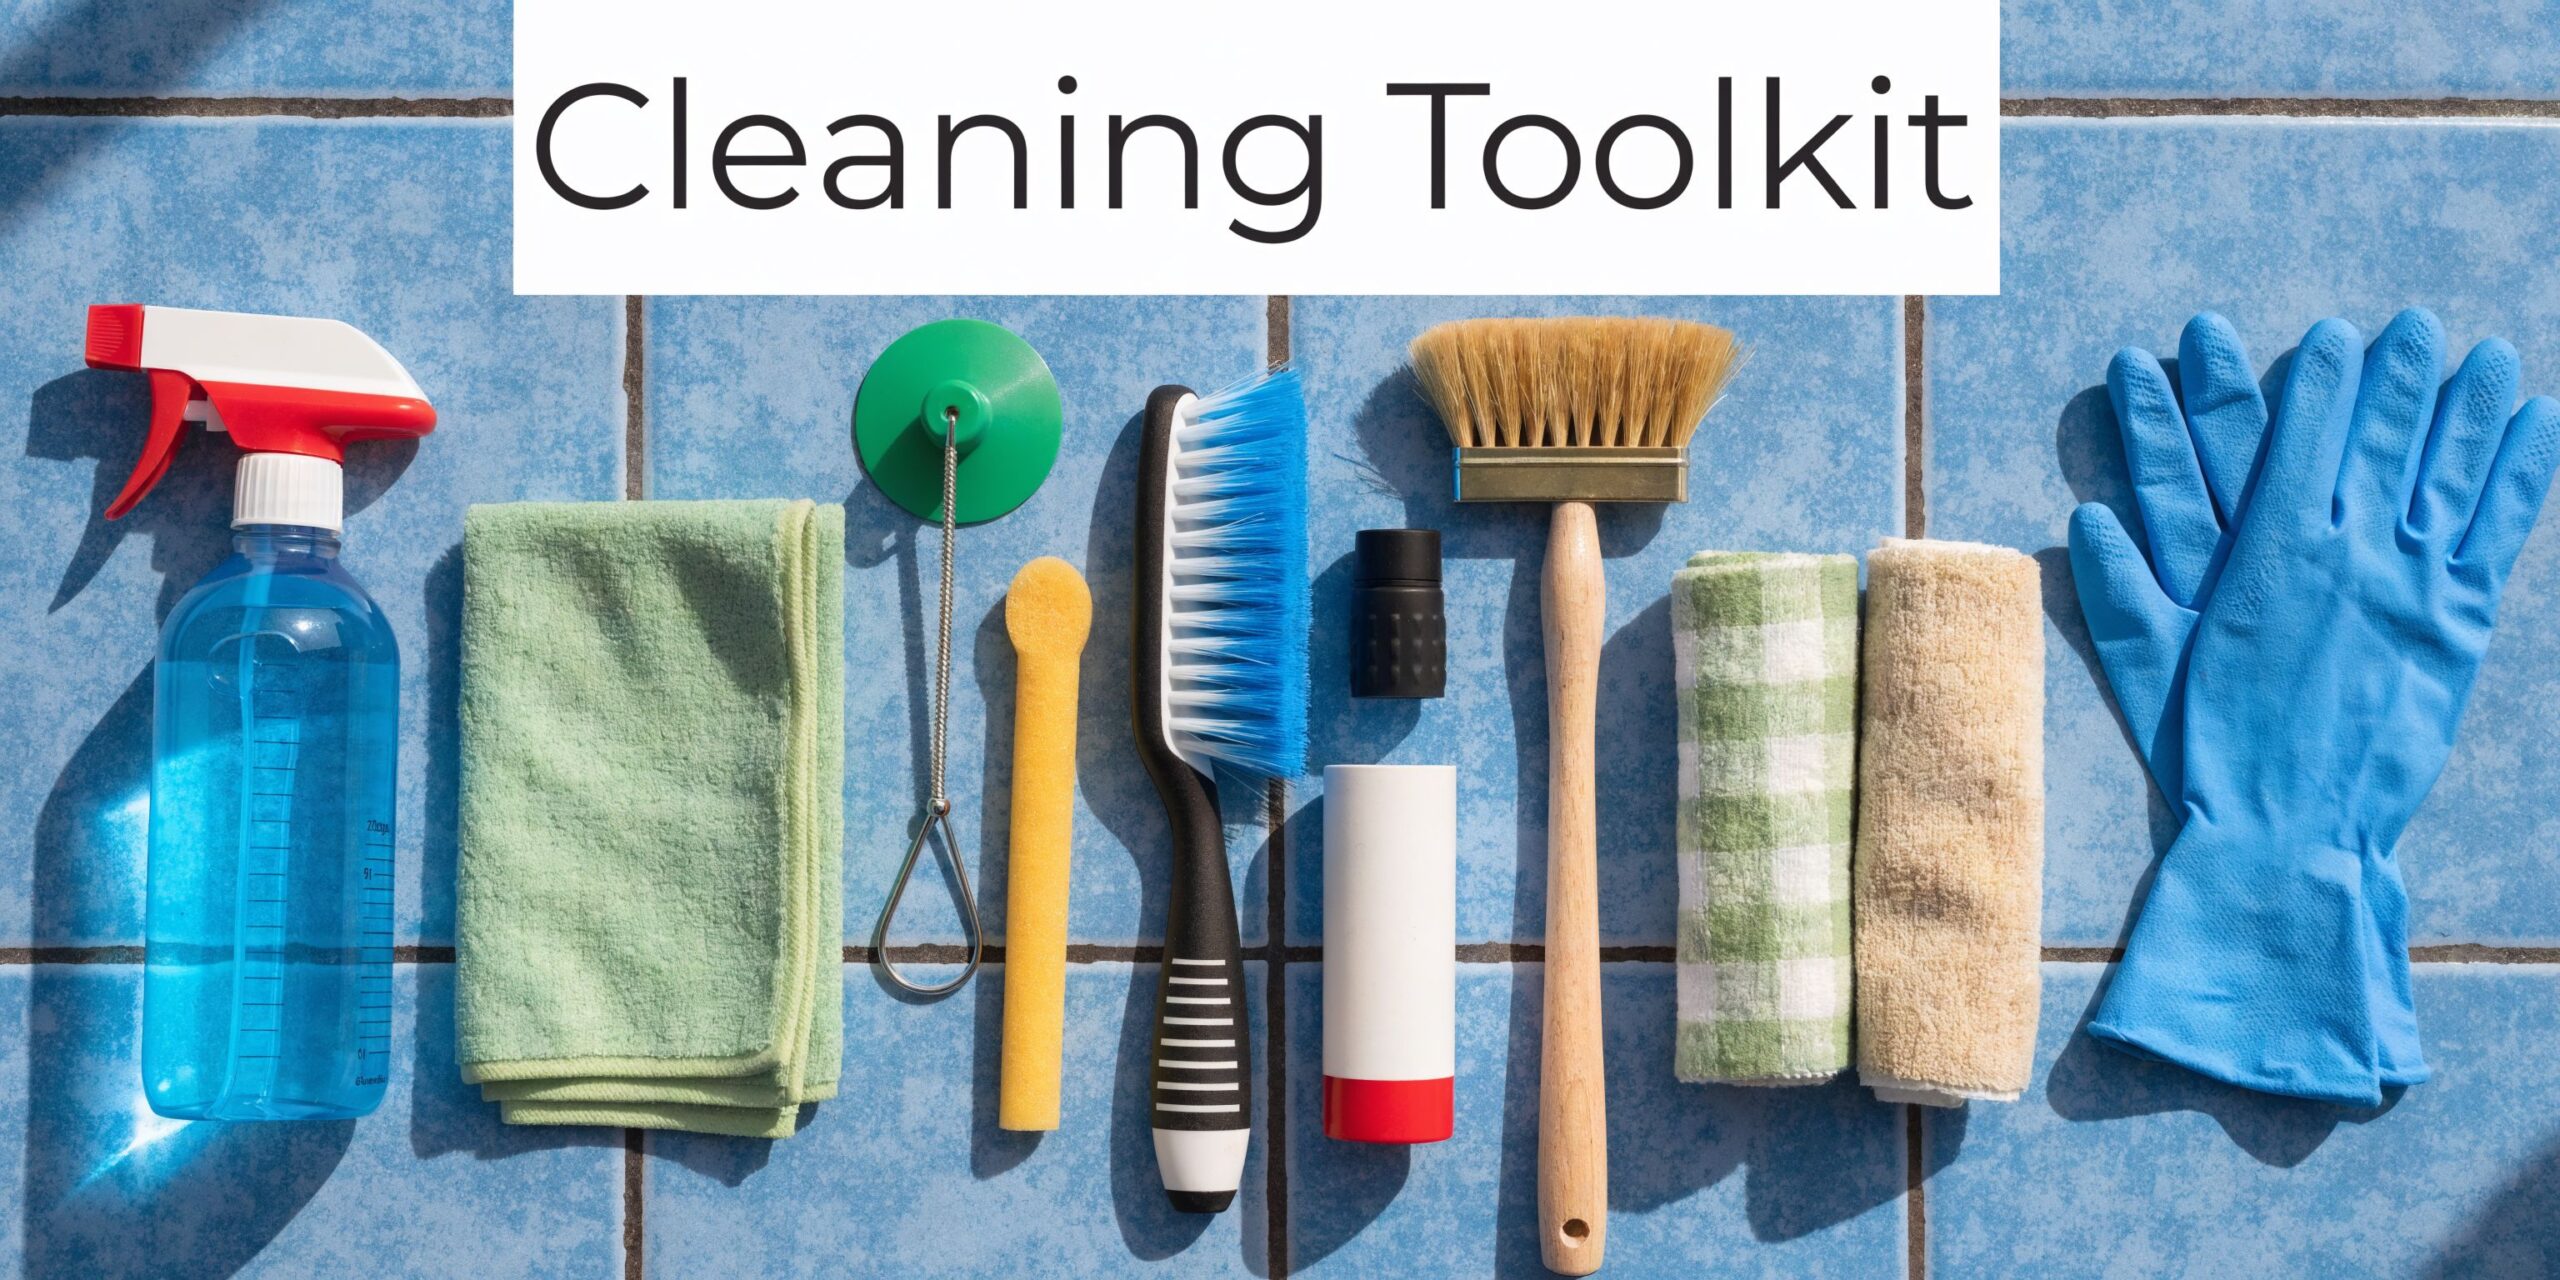
Match the brush to the grout
Brush choice matters more than people think. For sanded grout, use a stiff-bristled brush. For unsanded or epoxy grout, use a soft-bristled brush to avoid damage, as outlined in this tile and grout cleaning guide from BISSELL.
A few practical points:
- Use nylon, not metal. Metal brushes can scratch tile and gouge grout lines.
- Keep a small detailing brush handy. An electric toothbrush works well for tight corners, around toilet pans, and floor edges.
- Don’t use one brush for the whole property. A bathroom mould brush shouldn’t then go straight onto kitchen grout.
What should be in your kit
You don’t need a van full of gear, but you do need the right basics.
- Vacuum or dry debris remover so you’re not grinding grit into the grout while scrubbing
- Bucket with clean rinse water because dirty rinse water puts soil straight back on the floor
- Microfiber cloths or towels for final drying
- Gloves and eye protection if you’re using peroxide, oxygen bleach, or commercial cleaners
- Soft sponge for controlled rinsing instead of flooding the floor
- Brushes in two stiffness levels if you’re not fully sure what grout type you have
Prep is where most DIY jobs go wrong
Don’t start with wet product. Start dry.
Vacuum the area well, especially along grout lines, corners, and edges where hair and grit collect. If loose dirt stays on the floor, your brush drags it across the grout and tile like sandpaper.
Then work in small sections, not the whole room at once. The BISSELL guidance recommends circular scrubbing motions on sections about 2 ft x 2 ft, and that’s the right way to do it in practice too. Small areas let you control dwell time, pressure, and rinsing.
Clean from the back of the room toward the exit. If you trap yourself in a wet bathroom, you’ll either walk over freshly cleaned grout or leave puddles behind.
Dwell time is not optional
One reason tenants think a method “doesn’t work” is because they scrub immediately after applying it. Many grout cleaners need contact time.
The same BISSELL guidance notes that solution dwell time of 10 to 15 minutes is important for penetration. That doesn’t mean let it dry rock hard. It means let it sit long enough to work, then scrub while it’s still active.
If you rush this part, you’ll do more physical scrubbing and get a worse result.
The Go-To Method for Everyday Grout Grime
For most Melbourne rentals, the safest and most reliable DIY method is a baking soda, hydrogen peroxide, and dish soap paste. It’s strong enough for common kitchen and bathroom build-up, but it’s not as risky as harsh acidic shortcuts.
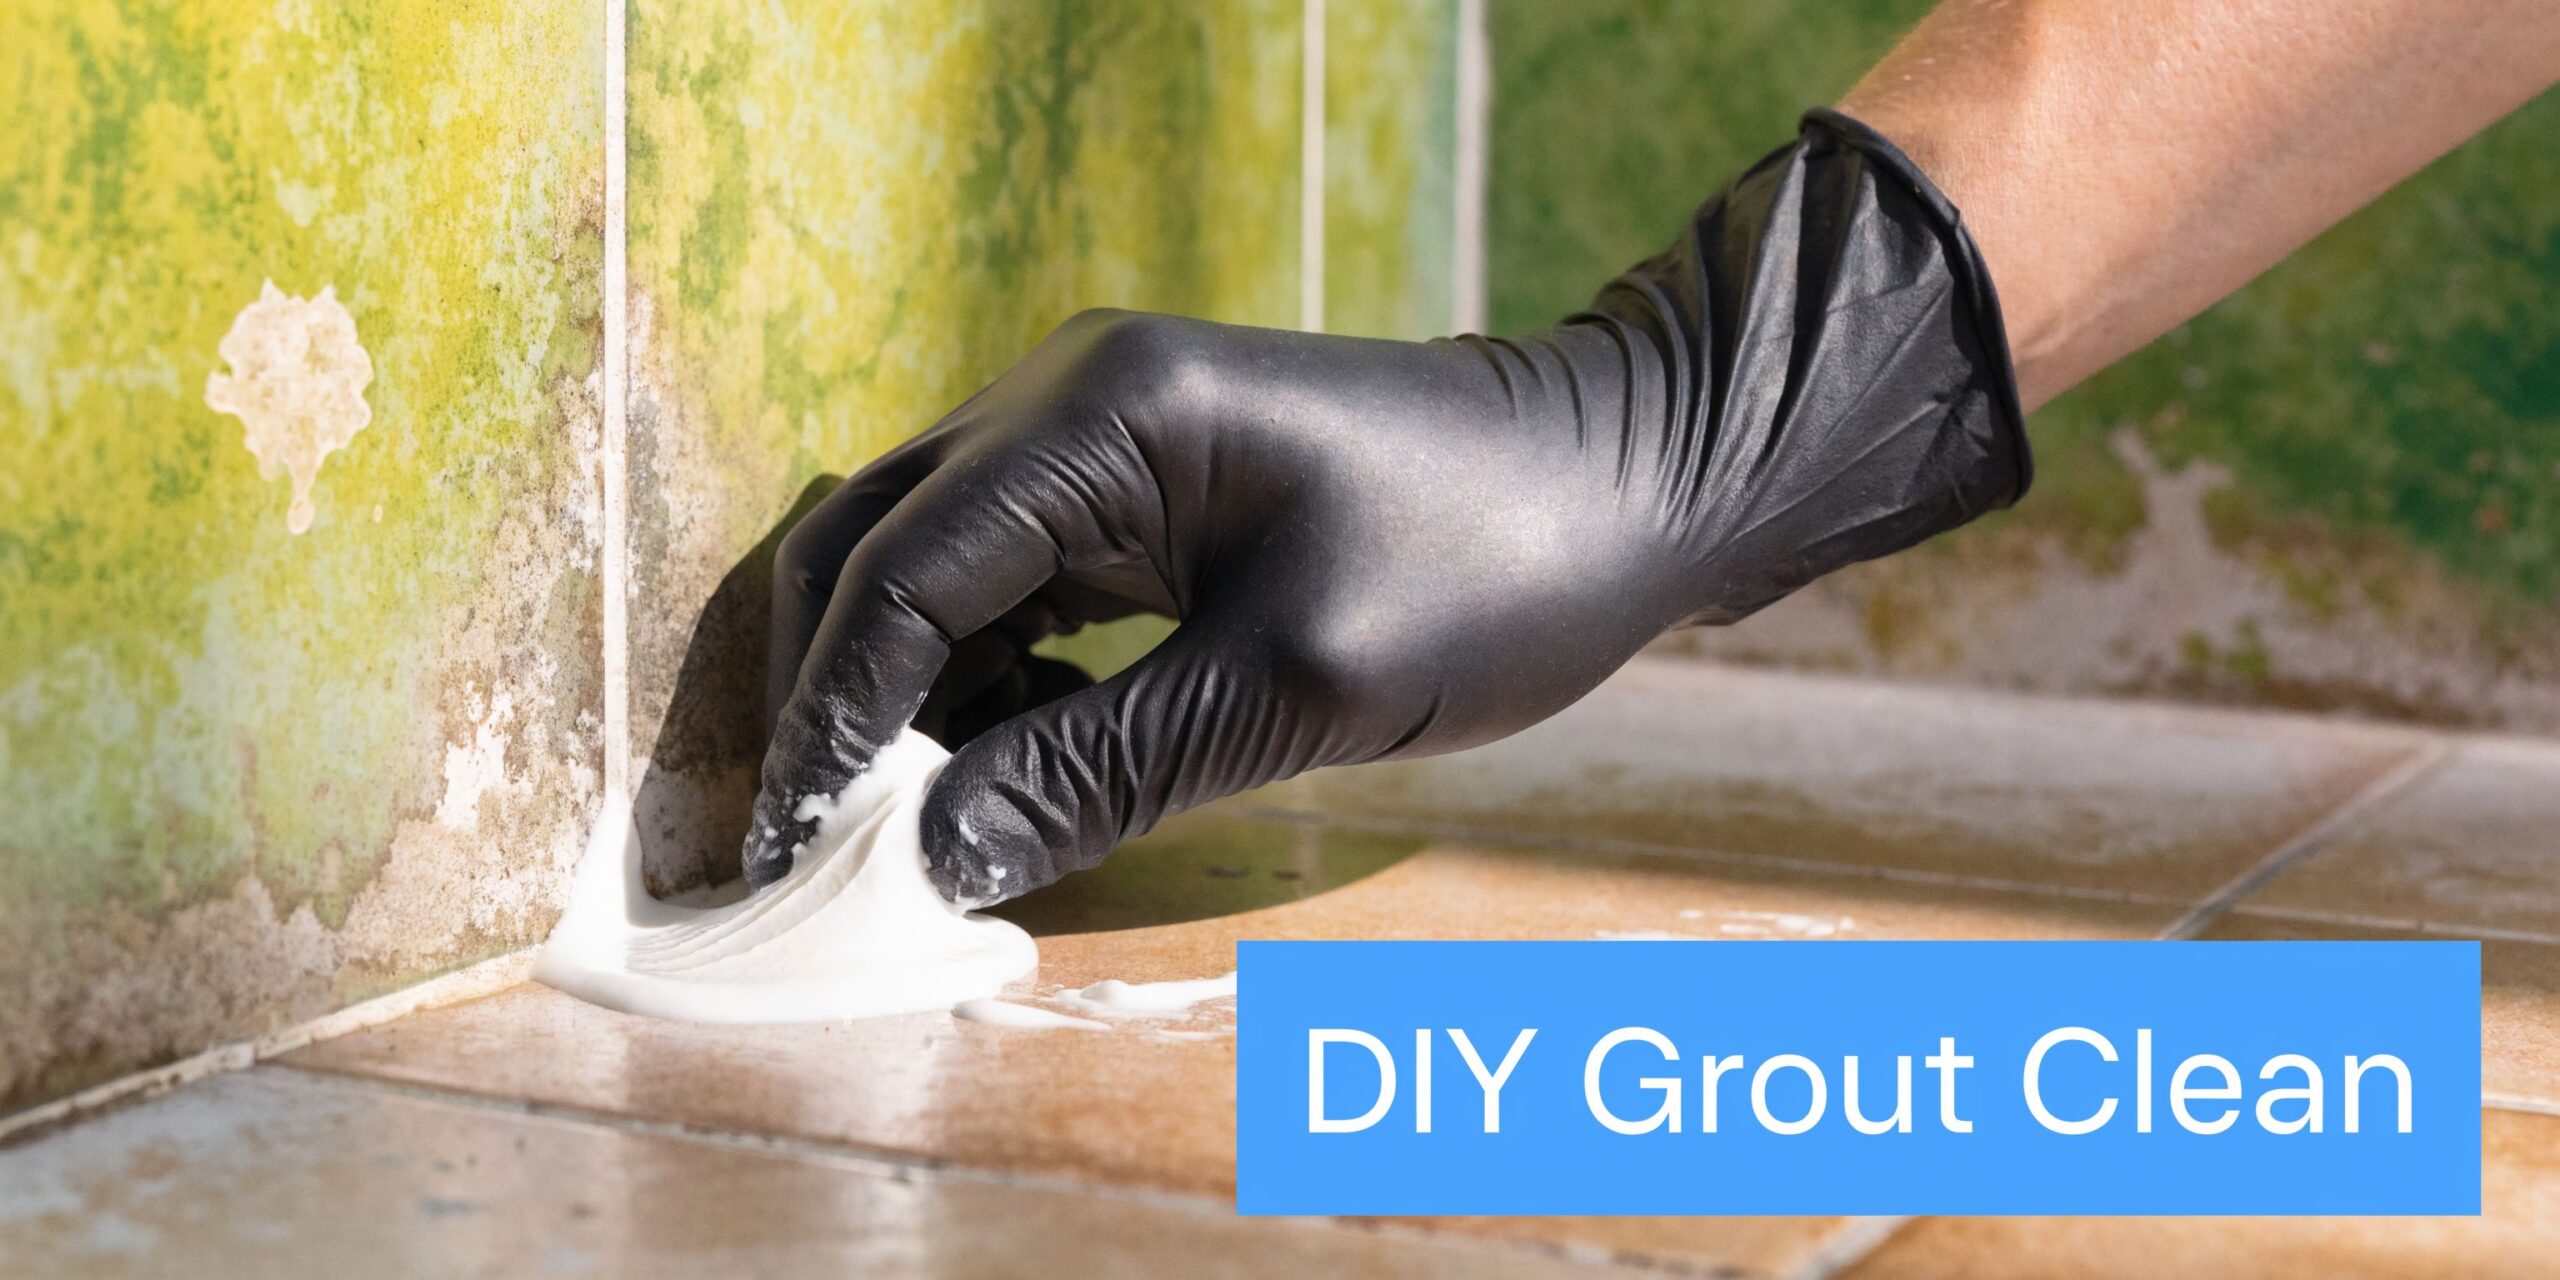
According to this guide to cleaning floor tile grout, a proven eco-friendly mix is 1/4 cup baking soda, 1/4 cup hydrogen peroxide (3% solution), and 1 tsp dish soap. The same source says this method, endorsed by Standards Australia AS 3958.1, removed 95% of surface grime in University of Melbourne lab tests (2021). It also warns against vinegar because it can erode grout.
The exact method that works
Here’s how to clean floor tile grout with that paste properly.
Mix the paste
Stir the baking soda, hydrogen peroxide, and dish soap until it forms a spreadable paste. It should cling to grout lines, not run across the tile.
Apply only to the grout
Use a gloved finger, small spoon, or narrow brush. Keep the product concentrated on the grout instead of smearing the whole floor.
Let it dwell for 10 to 15 minutes
Here, the cleaner does the heavy lifting. Don’t start scrubbing straight away.
Scrub with a nylon brush
Use steady circular motions and work section by section. Don’t attack the floor with brute force. Let the paste and brush do the job together.
Rinse with warm water at 40°C
Wipe, rinse, and repeat until the residue is gone. Warm water helps lift the paste cleanly.
Dry with microfiber
Drying is what makes the final result readable. Wet grout often hides residue and makes clean lines look uneven.
What this method is best for
This paste works well on:
- General foot traffic grime
- Bathroom residue
- Light kitchen grease build-up
- Patchy discolouration in older cement-based grout
It’s a strong everyday method, but not a miracle cure for damaged or severely mould-affected grout.
If you want a visual walkthrough before you start, this demonstration helps with technique and pacing:
What not to do
A few common mistakes ruin otherwise solid DIY work:
- Don’t use vinegar on grout just because it fizzes. Acid and porous grout aren’t a good mix.
- Don’t flood the floor during rinsing. Too much water soaks into the grout instead of removing residue.
- Don’t leave paste residue behind. White haze reads as poor cleaning during inspection.
- Don’t judge the result while it’s still wet. Let it dry fully before deciding whether another pass is needed.
If the grout lightens after drying, your method is working. If it stays black, orange, or patchy after two careful passes, you’re no longer dealing with simple surface grime.
Advanced Tactics for Stubborn Stains and Mould
When the standard paste doesn’t shift the staining, you need to choose your next step based on the tile, the grout condition, and what you’re trying to remove. Grease, mould, and ingrained discolouration don’t all respond to the same treatment.
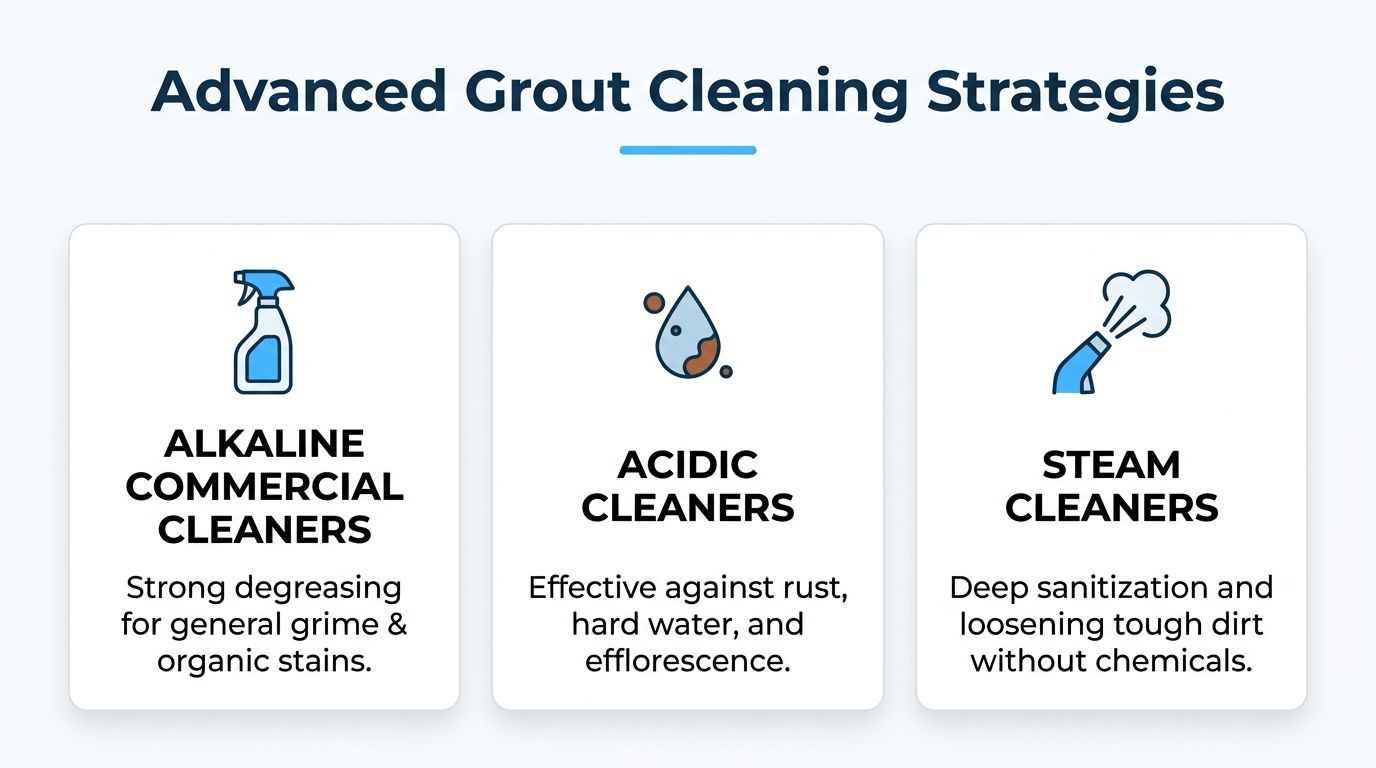
This professional grout cleaning resource gives the clearest split between methods. It states that steam cleaning at 100°C with distilled water penetrates 3mm into grout, killing 99.9% of E. coli. It also notes that bond cleaning professionals in Victoria restore grout colour in 88% of jobs using pH-neutral solutions (7.0 to 8.5), compared with 42% DIY success using harsher chemicals. The same source warns that vinegar-based solutions are contraindicated for porous tiles and says steam is a safe option for natural stone.
Which method suits which problem
Some jobs need chemistry. Some need heat. Some need both, carefully.
| Method | Best For | Avg. Cost | Pros | Cons |
|---|---|---|---|---|
| pH-neutral commercial cleaner | General heavy grime, safer bond-clean standard work | Varies by product | Lower risk on grout and tile, good colour recovery, easier to control | May need repeat applications on severe staining |
| Oxygen-based bleach powder | Stubborn stains where gentler options failed | Varies by product | Stronger lifting power on tough marks | Needs careful spot testing and ventilation, can damage some surfaces |
| Steam cleaning | Mould-prone grout, sanitising, natural stone-safe deep cleaning | Higher upfront equipment cost | Chemical-free, penetrates into grout, strong hygiene result | Requires proper equipment and careful extraction of loosened residue |
Commercial cleaner versus oxygen bleach
A pH-neutral cleaner is usually the better first escalation. It’s safer for end-of-lease work because it cleans without the same risk of etching, residue problems, or surface damage that come with aggressive products.
Some commercial cleaners, including Zep Grout Cleaner, can work quickly on severe discolouration. Still, any stronger cleaner needs a test patch first. That matters most on older tiles, textured porcelain, and any porous surface.
Oxygen-based bleach powder is the next step for isolated stubborn stains. Use it only with good ventilation and only after testing a hidden area. It can help on bathroom staining that the paste won’t lift, but it isn’t a whole-floor casual solution.
Steam for hygiene and depth
Steam cleaning is the strongest option when grout is dirty below the surface or when you want a chemical-free sanitising method. On the right floor, it can do what hand scrubbing can’t.
A practical steam process looks like this:
- Vacuum first so loose debris doesn’t turn to sludge
- Use distilled water if that’s what your machine recommends
- Work slowly with the right attachment so steam reaches the grout, not just the tile face
- Extract or wipe residue immediately so loosened soil doesn’t settle back in
Steam is excellent on the right floor. It’s a bad idea on already failing grout. If grout is crumbling, heat and moisture won’t repair it. They’ll expose the problem faster.
The material check before you escalate
Before you use a stronger cleaner or steam, check three things:
- Tile type. Natural stone needs more caution than standard ceramic or porcelain.
- Grout condition. Cracked, missing, or powdery grout needs repair, not just cleaning.
- Stain type. Mould, soap scum, grease, and efflorescence don’t behave the same way.
If you want more practical cleaning articles around vacate standards and surface care, the broader resource library at https://endleasecleaningmelbourne.com.au/blog/ is a sensible starting point.
For end-of-lease work, the safest path is usually this order: start mild, escalate carefully, and stop before the floor gets damaged. A slightly imperfect grout colour is easier to defend than etched tile or destroyed grout lines.
Protecting Your Work Grout Repair and Sealing
Many people stop once the grout looks clean. That’s understandable, but it’s only half the job. Clean grout left open and damp won’t stay clean for long.
Repair first if the grout is failing
If you notice hairline cracks, pinholes, missing spots, or crumbly sections, cleaning alone won’t fix the problem. Those gaps hold moisture and dirt, and they make the floor look neglected even after a thorough scrub.
For minor defects, a pre-mixed grout repair product is usually enough. Press it into the damaged area, smooth it level, and let it cure as directed on the label. Keep repairs small and neat. At end of lease, obvious patchwork can draw attention if the colour match is poor.
Sealing is what makes the clean last

Sealing matters because grout is porous. If you leave it unprotected, it starts absorbing moisture and soil again almost immediately in wet or busy areas.
The earlier Baker Bros source notes that silane-based sealers with 5mm penetration depth can extend grout life and cleanliness by up to 300%, based on Master Builders Australia data. That’s the best argument for sealing after a successful deep clean, especially in bathrooms, laundries, and kitchen walkways.
The drying window matters
Don’t rush from cleaning straight to sealing.
That same source states that failing to dry grout for 24 hours before sealing can compromise bond integrity and trap moisture, creating conditions for mould. In practical terms, if you seal damp grout, you can lock in the very problem you were trying to solve.
A good sealing routine is simple:
- Clean thoroughly first
- Rinse away all product residue
- Allow a full drying period
- Apply the sealer carefully to the grout line, not the entire tile
- Buff off any excess from tile surfaces
Freshly cleaned grout often looks “finished”. It isn’t. If you’ve spent the time getting it right, sealing is what stops the next round of staining from starting straight away.
Where sealing matters most
Prioritise sealing in areas that repeatedly fail inspections:
- Bathroom floors near showers and toilets
- Kitchen traffic lanes and sink areas
- Laundry floors
- Entry tiles where dirt gets tracked in
If the property handover is close, sealing may not always be practical. But when you do have the time, it’s one of the few jobs that protects both appearance and hygiene at the same time.
DIY vs Professional Cleaning When to Make the Call
The key decision isn’t whether you’re capable of cleaning grout. Many tenants are. The primary question is whether DIY is the smart option for the condition of the floor, the time left before inspection, and the amount of bond at risk.
When DIY makes sense
DIY is usually fine if the grout is lightly to moderately dirty, the tiled area is limited, and you’ve got enough time to let the floor dry properly before inspection.
DIY is a sensible choice when:
- The staining is recent, not years old
- The grout is intact, with no crumbling or missing sections
- You know the tile type, so you won’t use the wrong chemical
- You can clean in daylight and let it dry fully before anyone inspects it
For many kitchens and small bathrooms, a careful paste clean followed by proper rinsing is enough.
When you’re pushing your luck
Some jobs look DIY-friendly until you start. Then the grout stays dark, the bathroom still smells damp, or the tile starts showing cleaner haze.
That’s when the risk changes. Professional help becomes the better call if:
- Multiple rooms are affected
- Mould keeps returning
- The grout has deep black, orange, or brown staining
- The tile is natural stone or otherwise sensitive
- The exit inspection is close and you can’t afford a failed result
Bond inspections don’t reward effort. They reward outcome.
A practical decision table
| Situation | DIY likely enough | Professional help worth considering |
|---|---|---|
| Small ensuite with light discolouration | Yes | Usually not necessary |
| Kitchen grout with grease and tracked dirt | Often | If the grout stays dark after careful cleaning |
| Large tiled property with several wet areas | Sometimes | Often the safer option |
| Mouldy bathroom grout with repeat staining | Unreliable | Yes |
| Damaged, cracked, or powdery grout | No | Yes |
Think about risk, not just cost
Tenants often compare DIY supply cost with a professional quote and stop there. That’s too narrow.
What matters more is:
- Your available time
- Your confidence with stronger products or steam
- The chance of damaging the tile
- The cost of a re-clean or bond deduction if inspection fails
If you’re two days from key return and the grout still looks tired after one serious pass, that’s usually the point to stop experimenting.
If you need help before final inspection, you can contact the team directly at https://endleasecleaningmelbourne.com.au/contact-us/.
If you want a bond-focused clean handled properly from the start, End Of Lease Cleaning Melbourne offers practical vacate cleaning support across Melbourne and greater Victoria. For tenants facing stained grout, damp bathrooms, kitchen build-up, or a tight handover deadline, getting experienced help can save time, reduce stress, and give you a far better shot at a smooth final inspection.
