
The truck is booked, the keys are due back tomorrow, and the property still looks “pretty clean.” That is the point where a lot of Melbourne renters lose part of their bond. The problem is not the obvious mess. It is the inspection detail. Agents check the oven glass for baked grease, run a finger along skirting boards, look at shower grout, open the rangehood filter, and inspect window tracks in daylight.
A bond clean that gets results is not a standard weekly clean. It is a handover clean, done to inspection standard and aimed at the areas that most often trigger deductions under Melbourne tenancy expectations. From jobs we see at End Of Lease Cleaning Melbourne, the repeat problem spots are consistent: kitchen grease, bathroom buildup, marks on glass, dust on low trim, carpet stains, and the small contact points tenants miss because they stop noticing them.
The safest approach is to work by risk, not by room alone. Put the heavy-effort items first, then finish with the detail work that changes how the whole property presents at inspection. That means giving extra time to ovens, wet areas, floors, and anything an agent will touch, open, or view up close.
It also means dealing with appliances properly before they turn into inspection failures. A front loader, for example, can look fine from the outside and still fail because of detergent sludge in the drawer and mould around the rubber seal. If that machine is part of the tenancy clean, follow a proper front loader washing machine cleaning process instead of wiping the door and moving on.
The plan below is built around the points that cost tenants money most often in Melbourne. Clean these areas to inspection standard, document the result, and the final walk-through becomes much easier to get through without deductions.
1. Deep Clean All Appliances Inside and Out
The kitchen is where “looks clean” often fails. A stovetop can shine from arm's length and still fail once the burners are lifted, the splashback is checked in natural light, or the inside of the oven door shows baked-on grease. Laundry appliances are similar. A front loader with detergent sludge around the seal or powder caked into the drawer doesn't read as properly cleaned.
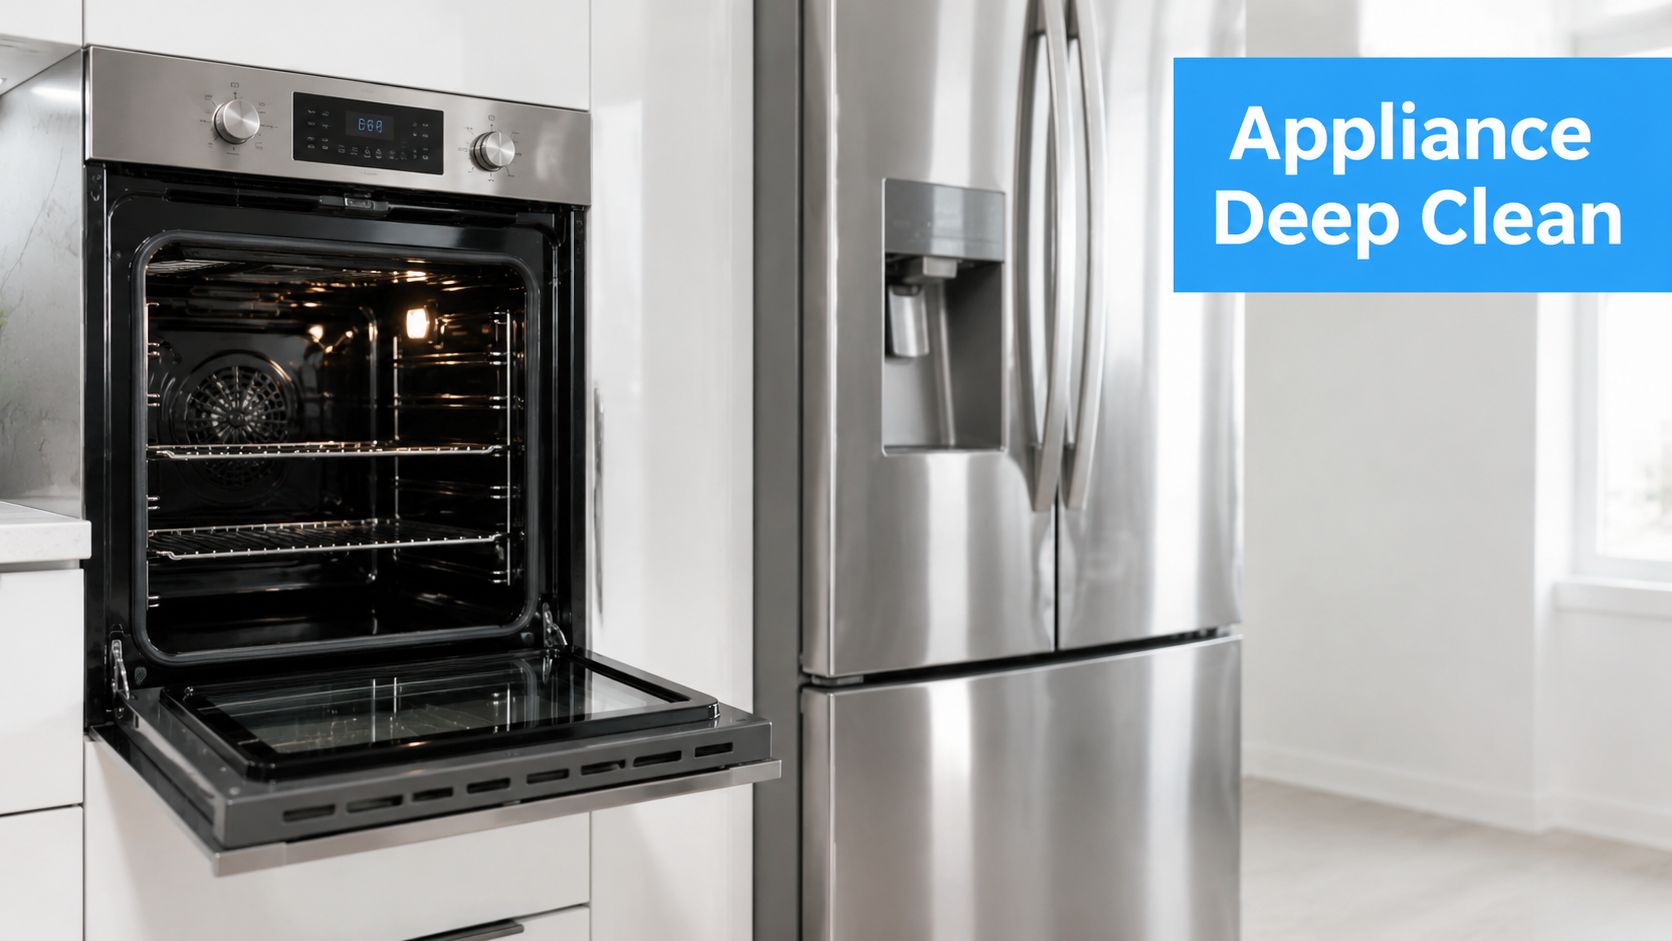
The most efficient order is simple. Start with the dirtiest appliance first, usually the oven. Give chemicals time to work while you clean the fridge shelves, microwave interior, dishwasher seals, washing machine drawer, and the outside faces of everything else.
What actually works
A proper appliance clean means inside, outside, edges, seals, trays, knobs, handles, and the floor area under anything movable. For stainless steel, use a microfibre cloth and a pH-neutral cleaner for the final pass. Degreasers remove grime, but if you finish with the wrong cloth or too much product, they leave streaks that stand out during inspection.
A few trade-level moves save time:
- Oven first: Apply oven cleaner the night before if the buildup is heavy. Dwell time does most of the hard work.
- Stovetop detail: Use a razor scraper carefully on glass or ceramic cooktops for burnt-on food, then follow with degreaser.
- Fridge dust check: Vacuum fridge coils and rear vents if accessible. Dust there makes the appliance look neglected.
- Washing machine reset: After wiping the drum, rubber seal, drawer and filter area, run an empty cycle to flush residue. If you need a step-by-step process, use this front loader washing machine cleaning guide.
Practical rule: If an appliance has a tray, rack, filter, seal, drawer, or removable insert, the agent may look there.
In Melbourne vacates, I'd put ovens, rangehoods, microwaves, and front loaders at the top of the appliance risk list. They trap grease, detergent residue, odours, and crumbs in places tenants miss because those spots don't show up in a quick wipe-down.
2. Meticulous Bathroom and Wet Area Sanitisation
You can walk into a Melbourne rental and tell in 30 seconds whether the bathroom will cost the tenant money. Cloudy shower glass, pink buildup around drains, dust stuck to the exhaust cover, and black spotting in silicone are the marks property managers notice first. In wet areas, small misses read as poor maintenance.
Bathrooms and laundries are high-risk rooms because they hold moisture, and moisture leaves evidence. At End Of Lease Cleaning Melbourne, we treat wet areas as inspection rooms, not just hygiene rooms. The goal is a bathroom that looks dry, bright, and properly maintained under strong light.

Clean for inspection standards, not just hygiene
A disinfected bathroom can still fail a final inspection if residue is left behind. Agents usually judge these spaces by what they can see at eye level and around edges. That means soap scum on screens, scale around taps, grime in grout lines, hair in tracks and drains, and water marks on chrome.
Use a top-to-bottom sequence. Start with dry dusting so you do not turn lint and fan dust into sludge. Clean the exhaust cover, cornices, and light fittings first, then move to mirrors, shower glass, tiles, taps, vanity, basin, bath, toilet, and floor. Finish by drying surfaces properly, because wet taps and damp corners can hide residue until the inspection.
The method that holds up in Melbourne vacates is simple:
- Shower screen and tiles: Apply a product suited to soap scum and mineral deposits, let it sit, then scrub with a non-scratch pad.
- Grout and corners: Use a small brush with controlled pressure. Heavy scrubbing can fray old grout and make it look worse.
- Tapware and drains: Detail around the bases where scale and hairline grime build up.
- Toilet base and hinges: Wipe around fixing points and behind the pan where splash marks get missed.
- Exhaust fan cover: Remove surface dust and vacuum the edges so the fan does not throw debris back into the room.
- Silicone and sealant: Clean staining, but do not try to hide failed sealant with bleach if it is split or lifting. Document existing damage instead.
There is a trade-off here. Acidic products can cut through scale fast, but they can also dull stone, damage poor-quality chrome, or affect older grout if used carelessly. Vinegar can help on some hard water marks, but it is not the answer for every surface. Always match the product to the material, especially in older Melbourne bathrooms where fittings have already taken years of wear.
Pay extra attention to the laundry if it sits in a wet area or bathroom zone. Detergent residue in the trough, lint around skirtings, and mould smell near the floor waste can all trigger comments during inspection.
Bathrooms do not need strong fragrance. They need clear glass, clean grout, dry edges, and no visible buildup.
3. Window and Glass Surface Cleaning
Dirty glass makes an otherwise clean property feel unfinished. Agents notice it quickly because windows change the way the whole room presents. Smears on sliding doors, fingerprints on mirrors, and dust packed into tracks tell them the clean was surface-level.
The mistake most tenants make is using too much product and too many cloth passes. That spreads residue around and creates streaks once the sun hits the glass.
The professional sequence
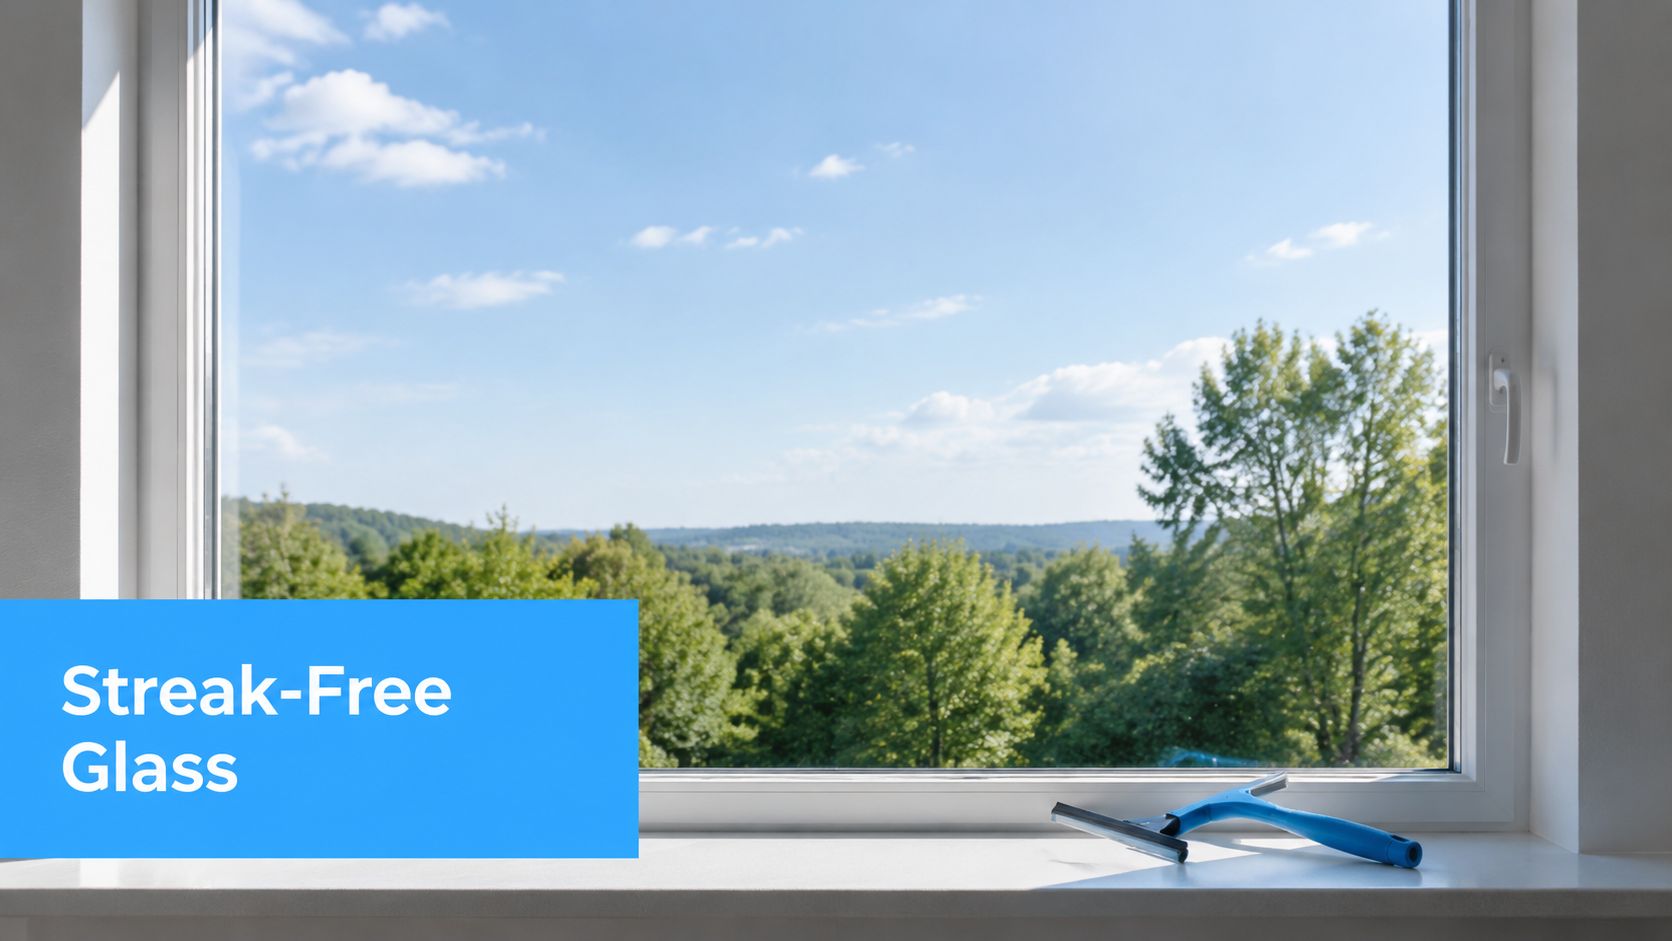
Vacuum the tracks and sill first. If you wet dirty tracks before removing loose debris, you create mud and double your work. After that, wipe frames, loosen sticker residue, clean the glass with a proper squeegee, and finish edges with a dry microfibre cloth.
Glass cleaning is one of those jobs where conditions matter. Do it on an overcast day if possible. Direct sun dries product too fast and leaves drag lines before you can polish them out.
A practical approach:
- Tracks first: Use a vacuum attachment and an old toothbrush to lift compacted dust.
- Residue removal: Use rubbing alcohol or adhesive remover on old stickers and tape marks.
- Squeegee over cloth: A squeegee gives a cleaner finish than endless wiping.
- Final detailing: Use a dry microfibre cloth on corners and edges only.
- Don't skip sills: Interior sills and sliding rails often hold the darkest dirt in the room.
Mirrors and shower glass need the same standard. If they still haze in side light, they aren't done. In a Melbourne rental, that matters because visible presentation often shapes the inspector's first impression before they even start checking the trickier details.
4. Skirting Board and Wall Baseboards Deep Clean
Skirting boards are classic bond deduction territory because tenants forget them. They sit low, collect dust, trap pet hair, hold scuff marks, and frame the room visually. If they're dirty, the room looks dirty, even when the floors and furniture are gone.
This is also where attention to detail shows. Clean skirting tells the agent you worked methodically. Dirty skirting tells them to start looking harder everywhere else.
Low-level details that change the inspection
Leave skirting boards until late in the process. If you clean them early, you'll re-soil them while vacuuming carpets, wiping walls, or carrying boxes out. Use a damp microfibre cloth with mild detergent, not a soaking wet rag that drips onto timber or laminate flooring.
For marks, escalate carefully. Start with warm water and detergent. Then use a magic eraser or a small amount of rubbing alcohol on the cloth if needed. Aggressive scrubbing can lift paint, and that creates a different problem from the one you started with.
Use this room-by-room method:
- Corners first: Dust builds up where skirting joins and in door-frame edges.
- Controlled moisture: Damp cloth only. Excess water leaves tide marks and can affect some finishes.
- Scuff treatment: Test stronger methods on a hidden spot before doing the whole wall line.
- Dry finish: Buff with a dry cloth so there are no streaks left behind.
If there are wall marks above the skirting, deal with those at the same time so the lower walls read clean as one continuous surface. For safe methods, this guide on cleaning walls without removing paint is worth following.
A fast inspection often includes a hand run along skirting boards. If dust transfers, the room won't feel finished.
5. Carpet and Flooring Stain Removal and Treatment
Floors carry the history of the tenancy. Furniture dents, traffic lanes, pet odours, drink spills, kitchen grease near thresholds, and dark marks around bed edges all show up once the rooms are empty. This is why flooring needs more than a vacuum and a mop.
The key trade-off is knowing when DIY treatment is enough and when you're likely to make it worse. Rubbing a stain too hard, oversoaking carpet, or using the wrong chemical can set the mark, spread it, or leave a bigger ring than the original problem.
Match the treatment to the floor
On carpets, blot first and treat second. On hard floors, avoid harsh products that dull the finish or leave a sticky residue. Timber, laminate, vinyl, tile, and stone all respond differently, so “stronger” isn't automatically better.
Before you tackle the whole property, watch the technique in action:
For rental properties, steam cleaning matters when the lease requires it, particularly for carpets. If your tenancy terms call for that level of treatment, skipping it can create an avoidable argument at the end. This carpet steam cleaning guide is a useful benchmark before you decide whether to hire equipment or book a cleaner.
A sensible stain-removal process:
- Test first: Trial any stain remover on an inconspicuous patch.
- Blot, don't rub: Rubbing drives the stain deeper and roughs up carpet fibres.
- Separate odour treatment: Smell and visible staining aren't always solved by the same product.
- Photograph difficult spots: Document pre-existing marks and any areas that may need specialist treatment.
- Use pH-neutral cleaners on hard floors: That helps protect the finish while still removing residue.
The fastest way to lose time on move-out day is trying five random products on one stain. Use the right cleaner, the right amount of moisture, and stop before damage replaces dirt as the main issue.
6. Oven and Stovetop Degreasing
A Melbourne exit inspection often stalls in the kitchen. The cooktop looks wiped over, but the agent pulls out a rack, checks the oven glass, lifts the rangehood filter, and the job falls apart fast. This is one of the highest-risk areas for bond deductions because grease hides in layers and shows up the moment the property is empty.
Ovens usually fail for the same reasons. Burnt-on carbon at the back wall. Brown staining on the inside glass. Grease baked onto side runners. Sticky knobs. Splatter under the burners. At End Of Lease Cleaning Melbourne, this is one of the jobs we see tenants underestimate most often, especially when they leave it until the final day and rush the process.
Degrease in stages, not all at once
Results come from dwell time, not panic scrubbing. Start cold. Remove racks, trays, burner caps, trivets, and side supports if the model allows it. Soak those parts separately in hot water with a suitable degreaser. While they soak, apply cleaner inside the oven cavity and on the door glass, then leave it long enough to break down the film.
Use tools that match the surface. A plastic scraper is safe for baked residue on enamel and glass. Abrasive pads and metal blades can leave scratches that stand out under inspection lighting. On stovetops, the trade-off is simple. Stronger pressure may remove grime faster, but it can also mark stainless steel, dull black finishes, or damage printed control markings.
Rangehoods matter as much as the oven itself. Filters loaded with oil make the whole kitchen feel unfinished, even if the benchtops are spotless. Wash, rinse, and dry them properly before reinstalling.
A solid oven and cooktop clean includes:
- Racks and trays: Soak first, then scrub and rinse fully.
- Interior walls and floor: Remove grease and carbon without gouging the finish.
- Door glass: Clean both sides, paying attention to corners and edges.
- Seals and frame: Wipe carefully so you do not tear or loosen the rubber.
- Knobs and control panel: Remove sticky residue without flooding electrical areas.
- Burners and drip areas: Lift components and clean underneath, not just the visible surface.
- Rangehood filters: Degrease, rinse well, dry completely, then refit.
Finish with a clean damp cloth, then dry everything. Any leftover product smell, smearing, or foamy residue will be obvious at inspection.
If the oven has years of buildup, a DIY clean can turn into a three-hour job with very average results. That is where professional help often pays for itself. In Melbourne rentals, the standard is usually simple. The appliance does not need to look brand new, but it does need to look properly cleaned, residue-free, and ready for the next tenant.
7. Light Switch Plates, Door Handles, and Hardware Cleaning
These are the details that separate a passable clean from a bond clean. Switch plates, power point surrounds, door handles, cabinet pulls, hinge edges, and latch plates gather oils from hands over months or years. Once the house is empty, those marks stand out more, not less.
Property managers often touch these areas without thinking about it. They open cupboards, switch on lights, slide doors, and run fingers over handles. If the hardware feels grimy or looks dull, it changes their impression of the whole property.
The small surfaces inspectors notice
Clean these room by room, not all at once. That keeps the job controlled and helps you avoid missing one side of a door or the inside face of cupboard hardware. Use a slightly damp microfibre cloth around electrical plates and dry off immediately.
Rubbing alcohol on the cloth works well for fingerprints and sticky residue because it flashes off quickly. For metal hardware, match the cleaner to the finish. Brass, chrome, matte black, and brushed stainless all respond differently, and the wrong product can leave haze or remove the intended finish.
A strong detail pass includes:
- Switches and plates: Wipe gently with minimal moisture.
- Door handles: Clean front, back, neck, and the latch-side plate.
- Cabinet hardware: Wipe from both the outside and the inside-facing angle.
- Frame edges: Remove grime where fingers push doors closed.
- Adhesive spots: Clean off residue from old hooks, child locks, or labels.
This work doesn't take long, but it changes how the property reads. When switches are bright, handles are grease-free, and doors have clean edges, the space feels maintained rather than merely emptied.
8. Systematic Checklist Approach and Property Inspection Documentation
On handover day in Melbourne, the problem is rarely one dirty room. It is the handful of missed items that show up under inspection conditions. A greasy rangehood filter, dust on the top shelf of a robe, a photo gap where pre-existing damage should have been recorded. Those are the details that turn a decent clean into a bond dispute.
The fix is a written checklist tied to the property in front of you. Generic end-of-lease lists miss too much. Build one from the condition report, then adjust it to the actual layout, finishes, and problem areas in the home. In older Melbourne rentals, that often means adding window tracks, hard-water marks, ageing silicone, heater vents, and worn carpet edges that need documentation before anyone mistakes wear for poor cleaning.
Work in inspection order, not cleaning order
At End Of Lease Cleaning Melbourne, we treat the checklist as both a cleaning plan and a dispute-prevention tool. Start with the areas that cause the highest deductions, then record the result before you move on. That approach keeps standards consistent and cuts down on rework after floors are finished or glass has already been detailed.
Use a simple structure that matches how agents inspect:
- List every zone: Bedrooms, living areas, kitchen, bathrooms, laundry, entry, hall, balcony, garage, cupboards, and storage cages if they are part of the lease.
- Break each zone into check points: Floors, skirting, internal glass, fittings, shelves, doors, tracks, vents, and light fixtures.
- Mark pre-existing defects before cleaning: Peeling paint, swollen kickboards, broken blinds, carpet wear, chipped tiles, failed grout, and mould-stained silicone that will not return to new condition.
- Photograph after completion: Take wide shots for the full room and close shots for high-risk items such as the oven, shower screen, vanity drawers, exhaust covers, and inside cupboards.
- Keep proof of work: Save receipts for carpet cleaning, pest treatment if required by the lease, and any products used to address specific issues.
Photos matter because memories get rewritten once keys are returned. Good documentation gives you a time-stamped record of condition and completion. Use daylight where possible, keep the camera level, and make sure the image shows the cleaned surface clearly rather than the room in general.
There is also a practical trade-off here. Chasing perfection on a low-risk area while leaving no time for final evidence is a mistake. I would rather see a tenant spend ten extra minutes photographing an already cleaned oven, shower recess, and window track than polishing a spare-room shelf for the third time.
If the agent allows it, do a pre-handover check with the condition report in hand. Compare each room against the original entry notes, then confirm what is cleaning, what is wear, and what needs to be raised in writing. In Melbourne tenancies, that distinction can save a lot of argument later.
8-Point Bond Cleaning Task Comparison
| Task | Implementation Complexity 🔄 | Resources & Time ⚡ | Expected Outcomes ⭐📊 | Ideal Use Cases 💡 | Key Advantages ⭐ |
|---|---|---|---|---|---|
| Deep Clean All Appliances Inside and Out | High, multi-step cleaning, careful techniques, moderate risk of damage 🔄 | Specialised degreasers, scrapers, coil vacuum; ~2–4 hours for full kitchen ⚡ | ⭐ High, reduces appliance inspection failures; large impact on bond return 📊 | End-of-lease kitchen/laundry inspections, heavily used appliances 💡 | Directly affects bond returns; extends appliance life; improves hygiene ⭐ |
| Meticulous Bathroom and Wet Area Sanitisation | High, grout/mould remediation, safe chemical handling 🔄 | Descalers, brushes, possible steam/acid cleaners; labour-intensive ⚡ | ⭐ High, prevents moisture claims and mould disputes; strong visual result 📊 | Bathrooms with mould/hard-water issues; high-inspection-priority units 💡 | Reduces moisture-related deductions; improves hygiene and safety ⭐ |
| Window and Glass Surface Cleaning | Medium, technique-sensitive; safety for exterior/high windows 🔄 | Squeegee, microfibre, ladder/access gear; weather-dependent timing ⚡ | ⭐ High visual impact, quickly verifiable during inspection; improves light 📊 | Properties needing presentation uplift, mirrors, shower screens 💡 | Cost-effective visual improvement; enhances natural light and perceived cleanliness ⭐ |
| Skirting Board and Wall Baseboards Deep Clean | Low–Medium, methodical, detail-oriented linear cleaning 🔄 | Microfibre cloths, mild cleaners, magic eraser; ~30–60 min/bedroom ⚡ | ⭐ Moderate, signals meticulousness and prevents small deductions 📊 | Final touch before inspection; properties where detail will be checked 💡 | High impact for low cost/time; demonstrates attention to detail ⭐ |
| Carpet and Flooring Stain Removal and Treatment | High, requires accurate stain ID and careful techniques 🔄 | Enzymatic/chemical stain removers, steamers/spotters; time varies with severity ⚡ | ⭐ High, prevents expensive replacement deductions and odour issues 📊 | Properties with visible or set stains, pet/food incidents at end-of-lease 💡 | Protects against major replacement costs; removes odours; critical for bond success ⭐ |
| Comprehensive Oven and Stovetop Degreasing | High, commercial chemicals, long dwell times, safety precautions 🔄 | Commercial degreasers, protective gear, racks soaking; 8–12+ hr dwell time ⚡ | ⭐ High, commonly inspected element; avoids frequent deductions 📊 | Heavily soiled ovens/stovetops for end-of-lease kitchens 💡 | Eliminates a common deduction cause; produces dramatic visible results ⭐ |
| Light Switch Plates, Door Handles, and Hardware Cleaning | Low, quick, repetitive detail cleaning 🔄 | Microfibre cloths, rubbing alcohol, polish; fast room-by-room ⚡ | ⭐ Moderate, strong perceived cleanliness boost; sanitisation benefit 📊 | Final walkthroughs, hygiene-focused inspections, high-touch areas 💡 | Low cost/time with high visual and sanitary effect; signals thoroughness ⭐ |
| Systematic Checklist Approach & Documentation | Medium, requires organisation, consistent record-keeping 🔄 | Checklist templates, camera, receipts, time for documentation; upfront admin ⚡ | ⭐ High, reduces missed areas and dispute risk; provides evidence in claims 📊 | Large properties, professional services, disputed bond cases 💡 | Evidence-based quality control; improves scheduling and dispute resolution ⭐ |
Your Final Walk-Through: The Melbourne Bond-Back Checklist
The pressure point comes right at the end. The removal truck is gone, the keys are nearly ready to hand over, and this is when missed grime costs Melbourne tenants part of their bond.
Walk in as if you have never seen the property before. Stop at the front door and check the first things a property manager notices. Smell, light, and surface finish. If the place smells like heavy fragrance, it can read as an attempt to cover damp, grease, or stale air. Open blinds, use natural light, and look for streaks on glass, dust on ledges, and dull traffic lanes on floors.
Then inspect the high-risk deduction zones in the order Melbourne agents usually pick them apart. Kitchen first. Bathroom next. Floors after that. Last, check the small touchpoints that make a clean either pass or fall short.
Run a hand across skirting boards and lower wall edges. Look at the oven glass from a crouched angle. Open the microwave, dishwasher, and washing machine and check seals, trays, and door rims. View the shower screen from the side so soap film shows up. Wipe under the rangehood lip, inside window tracks, around tap bases, and along sliding door channels. Those spots are missed constantly, and they are exactly where inspection reports get picky.
From our experience in Melbourne vacate cleaning, the biggest bond problems are rarely dramatic. They are residue problems. Grease left on cupboard tops. Calcium marks on shower fittings. Dust on exhaust covers. Fingerprints on switch plates. A floor that looks clean until daylight hits the streaks. A final walk-through should be built around those fail points, not around broad statements like "the room looks fine."
Photos matter if you cleaned the property yourself. Take them room by room, then take close shots of any area that could be questioned, such as the oven interior, shower screen, carpet condition, and inside appliances. Keep receipts for carpet cleaning, stain treatment, or any specialist service required under the lease. If there is old wear, faded paint, chipped laminate, or damage that cleaning cannot fix, record that clearly. Clean condition and property condition are separate issues, and you need evidence for both.
Leave enough time for one last correction pass. Rushed re-cleans cause expensive mistakes. Oven racks still wet, grout haze left on tiles, smear marks on mirrors, and lint from the final vacuum are all common end-stage problems. I would rather see a tenant finish one room properly than race through the whole property and leave inspection-level defects everywhere.
If the job is beyond a basic final clean, get help before handover day. Heavy oven carbon, mould in wet areas, pet odours, and stained carpets often need commercial-grade products, extraction equipment, or far more labour than tenants expect. End Of Lease Cleaning Melbourne is one local company that handles that type of work across Melbourne and greater Victoria, with a focus on end of lease and bond cleaning.
A proper final walk-through is an inspection rehearsal. Check what the agent is likely to check. Correct what they are likely to note. Document what cleaning cannot change. That approach gives you the strongest chance of a smooth handover and a full bond return.
