
You notice it halfway through your shower. Water isn't slipping away like it should. It's gathering around your feet, the drain is making that dull gurgling sound, and the bathroom already smells less fresh than it did last week.
That's usually the point when people grab the nearest bottle, pour something down the drain, and hope for the best. Sometimes that shifts a light surface clog. Often it doesn't. In end-of-lease cleaning, I see the same pattern again and again. The drain gets ignored until inspection week, then a minor maintenance job turns into a stressful plumbing question.
Cleaning out a shower drain properly isn't complicated, but it does need the right order. You need to know what you're dealing with, what won't damage the drain parts, and when a “DIY fix” is just masking a bigger problem.
Why Your Shower Drain Is More Than Just a Nuisance
A slow shower drain feels like a small annoyance until it starts affecting the whole bathroom. Water sits longer than it should. Hair and soap scum keep catching more residue. The smell gets stronger. By the time the shower is backing up, you're no longer dealing with a quick tidy-up.
That matters more in rentals than many tenants realise. In Australia, AS/NZS 3500.2:2021 treats shower drainage as a performance and hygiene issue, and industry guidance commonly recommends cleaning the drain every 1 to 2 months to help prevent blockages, odours, and mould, especially where end-of-lease functionality is under scrutiny, as noted in this Australian plumbing maintenance guide.
From a cleaner's point of view, shower drains sit in that awkward space between cleaning and maintenance. The visible mess is usually hair, soap residue, and sludge around the grate. But if water still drains poorly after that's removed, the issue may go deeper than housekeeping.
Practical rule: If water pools at your ankles, the problem has already moved past “I'll deal with it later.”
In Melbourne vacate cleans, the drain is one of those details that can trigger avoidable friction. An inspector may not care whether the clog formed over months or over one bad week. They'll care that the shower isn't draining properly, smells off, or shows visible grime around the waste.
That's why I treat cleaning out a shower drain as routine property care, not a last-minute rescue job. Done early, it's simple. Left too long, it can affect hygiene, presentation, and your bond discussion.
Your Pre-Cleaning Checklist and Diagnosis
Before touching the drain, set yourself up properly. Most mistakes happen because people rush in with the wrong tool, poor visibility, or no idea what type of drain they're working on.
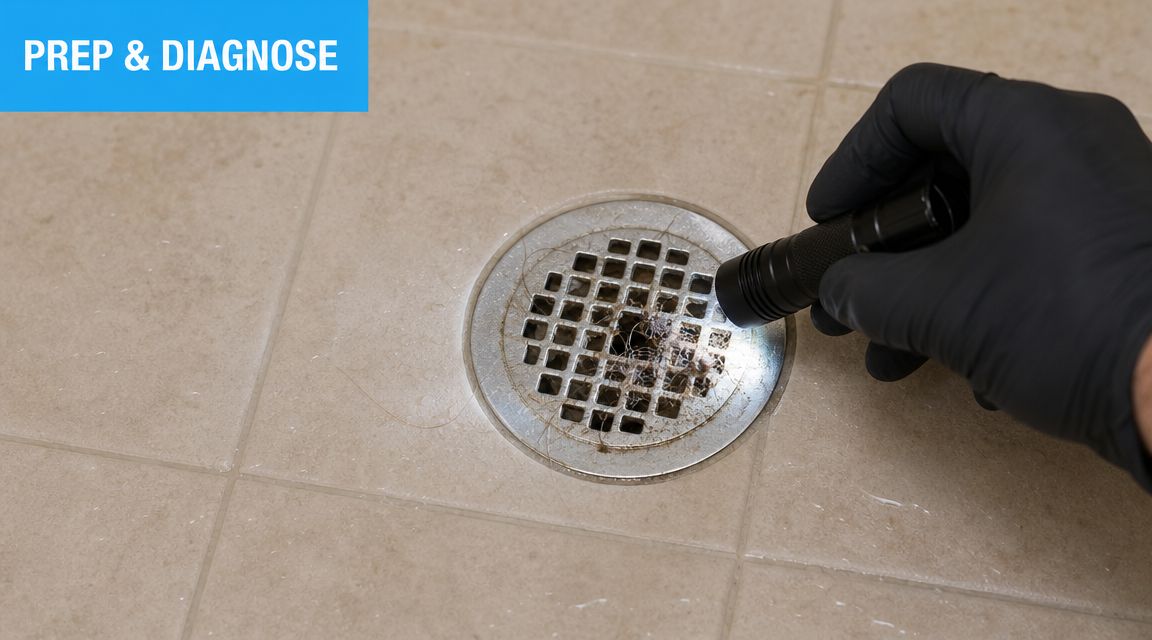
If you're preparing for a vacate, it also helps to check your whole bathroom against an end of lease cleaning checklist so the drain isn't the only detail getting attention at the last minute.
What to gather first
You don't need a big kit. You do need a sensible one.
- Gloves: Use sturdy cleaning gloves. Shower drain sludge isn't something you want on bare hands.
- Torch or phone light: You need to see past the grate, not guess.
- Needle-nose pliers or tweezers: Good for lifting hair without pushing it deeper.
- Old toothbrush or soft brush: Useful for the drain cover and accessible residue.
- Bucket or small container: Handy for placing the grate, screws, and removed debris.
- Old towel or rags: Put one nearby so wet parts don't go straight onto the floor.
Identify the drain before you start
Not every shower drain comes apart the same way. That changes how you clean it.
| Drain type | What to look for | What it means |
|---|---|---|
| Point drain | Small square or round grate in the floor | Usually easiest for basic hair removal |
| Pop-up or removable trap style | Cover lifts or unscrews, inner section may come out | Needs gentler handling and proper reassembly |
| Linear drain | Long narrow channel along one side of the shower | Usually collects soap residue along the channel and basket area |
Linear drains and removable traps often catch more surface residue than people expect. They look neat from above, but underneath the cover there can be a film of soap scum that pouring products down the opening won't remove.
Check whether the grate lifts, clips, or screws into place. If you force the wrong part, you can bend the cover or damage the fitting.
Decide how serious the blockage is
A basic diagnosis saves time.
- Light blockage: Water drains, but slowly. You can usually see hair or residue near the top.
- Moderate blockage: Water pools noticeably and clears sluggishly after the shower ends.
- Possible deeper issue: The drain keeps slowing down soon after cleaning, smells like sewer gas, or stays slow even when visible debris is gone.
If the problem looks light to moderate, DIY cleaning out a shower drain is usually worth trying. If the symptoms suggest something deeper, be careful not to turn a simple inspection into pipe damage.
Manual and Mechanical Unclogging Methods
A shower drain usually clears fastest when the blockage is lifted out, not washed further down. In end-of-lease cleans, that matters. A drain that still gurgles or backs up during the final inspection can raise questions about bathroom condition, and a rushed fix can crack a cover, scratch a finish, or shift the clog into a harder spot.
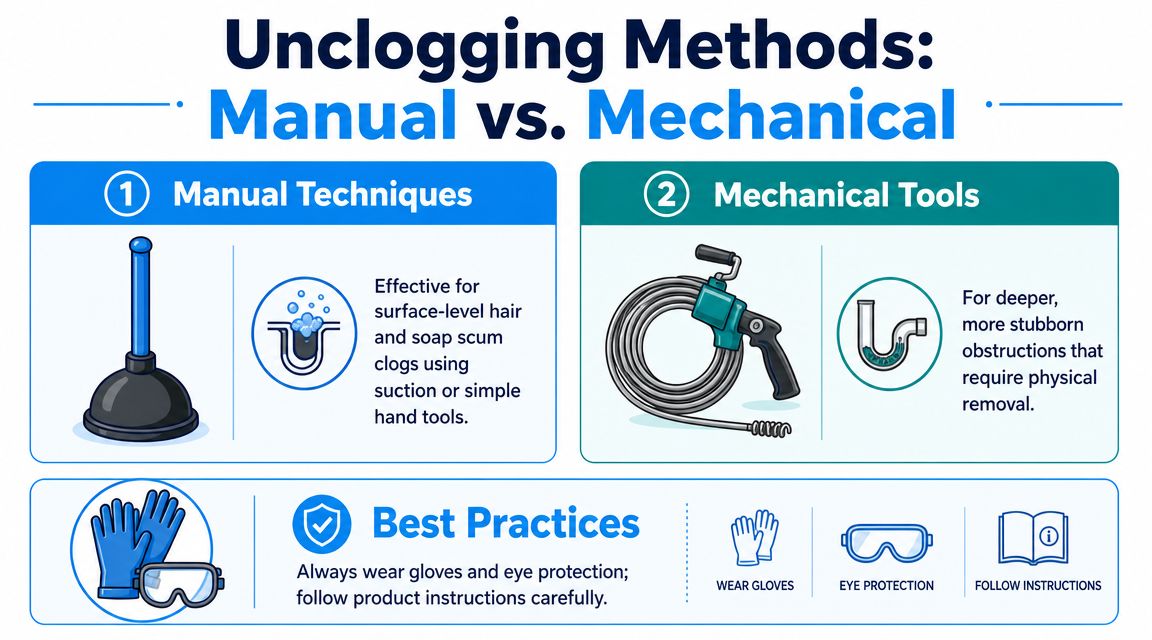
Start with direct removal
Visible hair and sludge should be removed by hand first. It is the lowest-risk method and usually the most effective one for a shower drain.
A sensible sequence is to remove the cover, pull out the debris you can reach, rinse the opening with hot water, then clean the cover and accessible parts with a soft brush and mild detergent. That approach helps protect stainless steel and plastic components, as explained in this shower drain hardware cleaning guide.
Use this order:
- Lift or unscrew the cover carefully. Keep tools off tile edges and decorative finishes.
- Pull out visible hair with gloves, tweezers, or pliers. Lift slowly so the clog comes up in one piece.
- Bag the waste immediately. Wet hair spreads grime fast and makes the bathroom harder to finish clean.
- Run hot water briefly. A short flush helps move loosened residue, but stop if water starts pooling.
- Scrub the grate, basket, or removable insert. Use a soft brush and mild detergent.
- Dry and reassemble the parts properly. A loose or misaligned cover can rattle, trap debris, or sit unevenly.
Many slow drains improve at this stage alone.
The part people skip is the cleaning around the opening itself. That greasy ring under the cover catches the next layer of hair quickly, which is why some drains seem to clog again right after a basic clean.
If the clog is visible, remove it before reaching for any product or tool.
Here's a practical demonstration of the kind of hands-on approach many people find useful:
When a plunger helps
A plunger can work on a shallow partial blockage where water still drains, just too slowly. It is less useful on a dense hair knot wrapped around the trap.
Technique matters more than force. Add enough water to cover the plunger cup, press for a proper seal, and use short controlled pumps. A few good plunges will tell you whether the clog is shifting. If the water level and sound do not change, stop there.
Too much force creates mess, not results. In some showers, especially with lightweight covers or awkward floor angles, plunging can also splash dirty water onto grout lines and walls you have already cleaned.
Using a simple drain snake
If hand removal gets only part of the blockage, use a small non-powered drain snake or plastic drain tool. For shower drains, that is the safer option for most households. Powered equipment has its place, but not in inexperienced hands and not on fittings you may need to account for at bond-clean stage.
This quick comparison helps:
| Method | Best for | Main risk |
|---|---|---|
| Manual removal | Visible hair and shallow sludge | Mess and contact with waste |
| Plunger | Soft partial clogs near the trap | Splashback and poor sealing |
| Hand drain snake | Hair clumps slightly deeper in the line | Scratching, snagging, or forcing past a bend |
Feed the snake in gently. Rotate lightly only if needed, then pull back slowly to catch and retrieve the debris. The goal is to bring the clog out intact.
Stop if the tool hits firm resistance, catches sharply, or will not return smoothly. That can mean a fitting, a tight bend, or a deeper obstruction that should not be forced. From a cleaner's perspective, this is the point where DIY can stop saving money. One damaged fitting or scratched linear drain insert can cost far more than bringing in a plumber.
End Of Lease Cleaning Melbourne includes shower drain filter interior and exterior cleaning as part of end-of-lease bathroom work. That covers accessible buildup. It does not replace licensed plumbing when the blockage sits deeper in the waste line.
Safer Solutions for Dissolving Buildup
Physical removal deals with the obvious clog. What it doesn't always remove is the sticky film left behind by soap residue and body oils. That's where a dissolving method can help, as long as you use the right one for the right job.
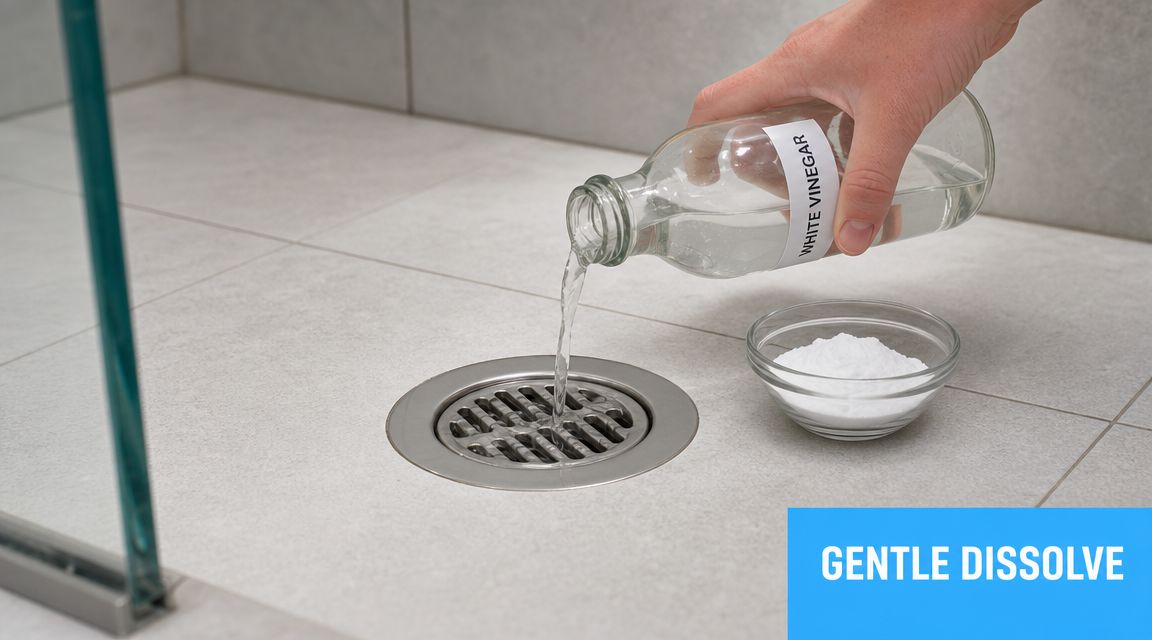
Baking soda and vinegar for light buildup
For a light to moderate organic clog, the standard DIY method is baking soda and vinegar followed by a hot-water flush. The verified guidance allows a range. A common version uses 1/3 to 1/2 cup of baking soda and a similar amount of vinegar with a 30 to 60 minute dwell time, and it's important not to mix this with chemical drain cleaners because that can damage pipes and fixtures, as explained in this drain-cleaning guide.
A sensible way to do it is:
- Tip in the baking soda first
- Add the vinegar slowly
- Let it sit
- Flush with hot water after the dwell time
This method suits mild residue. It doesn't replace pulling out a thick hair clog by hand.
If the drain is fully choked with hair, fizzing on top of it won't perform miracles. Remove the mass first, then treat what's left.
Enzyme cleaners compared with harsh chemicals
If you want an ongoing maintenance product, enzyme-based cleaners are the gentler option people usually look at next. They're intended for organic buildup rather than brute-force attack. That makes them a more reasonable fit for routine care than caustic products.
The trade-off is simple:
| Option | Where it helps | Where it falls short |
|---|---|---|
| Baking soda and vinegar | Light residue, deodorising, maintenance | Weak on solid obstructions |
| Enzyme cleaner | Ongoing organic buildup | Usually slower than physical removal |
| Caustic liquid drain cleaner | Aggressive chemical action | Risky around pipes, fixtures, fumes, and accidental mixing |
I'm firm on one point here. Don't stack methods recklessly. If someone has already poured a commercial drain cleaner into the shower, stop and read the label before doing anything else. Adding another product on top is where people create dangerous reactions.
Also check the surrounding materials. Some drains sit in bathrooms with finishes that don't respond well to acidic products. If you've got a removable stainless cover, decorative tile, grout lines, or specialty surfaces nearby, caution is part of the job.
Preventative Maintenance and Deodorising
Once the water is flowing properly again, the easiest win is keeping the next clog from forming. In Australian home maintenance guidance, slow drains are treated as a preventable maintenance issue, with clearing often recommended every 2 to 3 months, especially in busy households, to stop partial blockages from hardening into larger problems, as noted in this plumbing maintenance article.
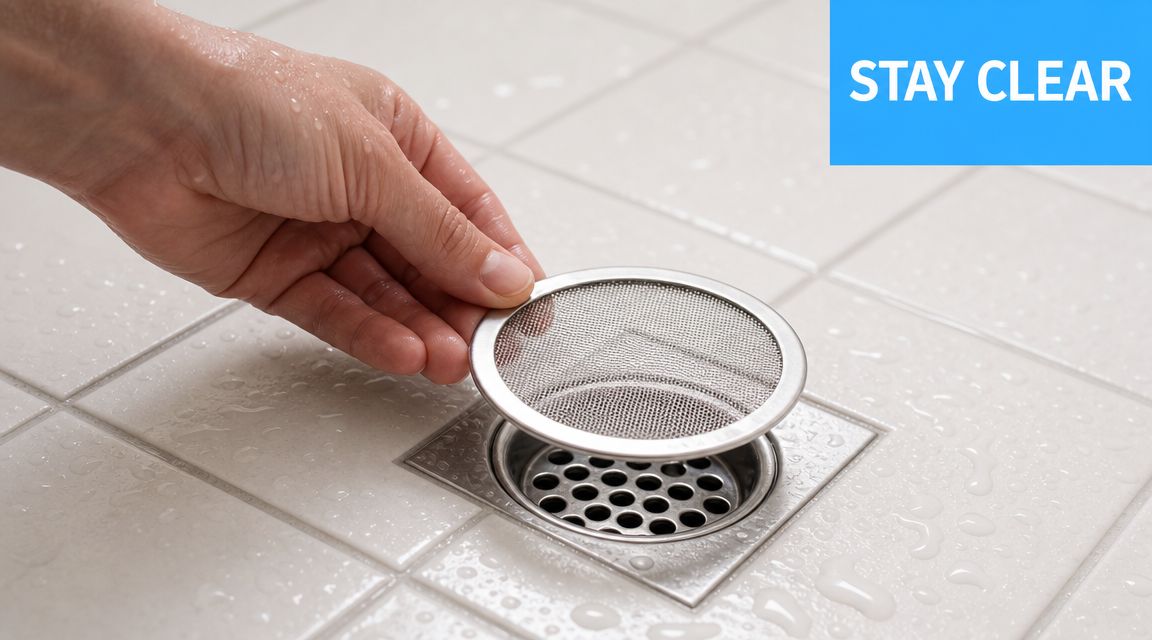
The simplest habit that saves the most effort
Use a hair catcher or mesh strainer that fits your drain properly. It won't stop soap residue, but it will intercept the main material that turns a normal shower into a clog factory.
If you're also working on the rest of the bathroom presentation before inspection, clean surrounding surfaces at the same time. A fresh drain next to stained grout still looks unfinished, so it's worth pairing the job with a proper floor tile grout cleaning routine.
A routine that's realistic
You don't need an elaborate schedule. You need one you'll follow.
- After showers: Remove visible hair from the catcher or grate.
- On a regular cycle: Lift the cover and wipe away soapy residue before it hardens.
- If the drain starts smelling stale: Clean the accessible parts and flush the line rather than masking the smell with fragrance.
For deodorising, I prefer simple cleaning over heavy perfumes. Smells in a shower drain usually come from residue, not from a lack of scent. Remove the buildup and the odour often improves with it.
A clean drain also helps the bathroom feel maintained. That matters during a vacate clean because inspectors notice whether the room looks cared for, not just wiped over.
Troubleshooting and When to Call a Professional
Some drains don't respond because the issue isn't sitting under the grate. That's the limit of DIY. A major gap in most cleaning advice is knowing when a slow drain points to a venting issue, damaged trap, or deeper blockage that surface methods won't fix, and repeated surface cleaning may still leave you exposed at inspection time, as discussed in this troubleshooting guide for recurring shower drain problems.
Signs it's time to stop DIY
If any of these are happening, don't keep escalating with random tools and chemicals:
- The drain slows down again soon after cleaning
- You've removed visible debris, but the shower still pools
- There's a persistent sewer-like smell
- The drain gurgles even when the clog seems gone
- You suspect a damaged trap, loose fitting, or deeper line issue
The bond-protection view
For tenants, judgment matters. If the shower still drains poorly after sensible cleaning, the problem may no longer be a cleaning issue at all. It may be maintenance, plumbing, or moisture risk. If mould is also showing up around the shower because water has been sitting too long, it's worth reading more about when mould remediation in Melbourne becomes necessary.
A licensed plumber is the right call for drainage faults, recurring blockages, or anything that suggests pipe damage. A professional cleaner is the right call when the bathroom needs to present properly for handover and you want the visible hygiene side handled thoroughly. Knowing which one you need can save time, stress, and a lot of avoidable back-and-forth.
If you're preparing to move out and want the bathroom finished to inspection standard, End Of Lease Cleaning Melbourne can handle the cleaning side of the job, including the detail work that often gets missed during a rushed vacate.
